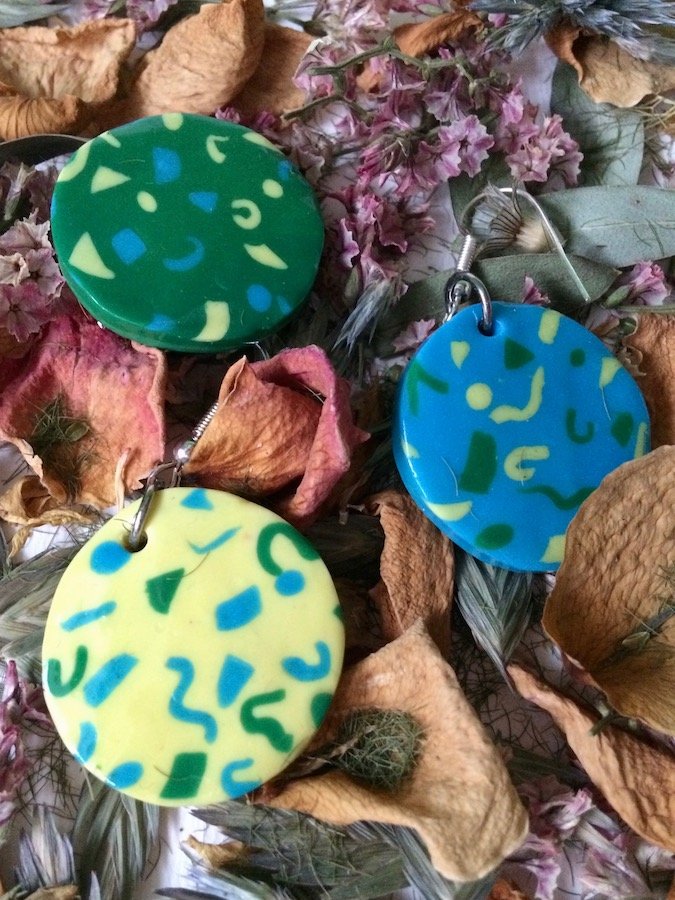
This unique polymer jewellery set of earrings and bonus brooch will turn out different each time. Making it your own. Whilst always staying within fashion. Its colours and design complimenting whatever you’re wearing.
Materials:
- Polymer clay (multiple colours)
- 2 earring hooks
- Brooch pin
- Polyurethane gloss varnish
- Superglue
Tools:
- Rolling pin
- Craft knife
- Backing parchment/tin foil
- Pencil
- Ruler
- Pliers
- Compass
- Paper
- Sandpaper
- Paintbrush
Tip: work with the lighter colours first as bright colours can stain both your mat and hand, and thereby transfer onto the lighter colours. Also working directly on the baking parchment reduces the risk of damaging the design when you transfer them, which can happen if you’ve done them very thin.
Method:
- Choose three different colours of clay. Here I’ve choose green, blue and yellow. Cut a marble size amount from each clay and roll to a depth of just a few millimetres – this will form the background colour to the earring.
- Next, cut a pea size amount from each of the three clays and roll to a thinner depth than earlier.
- From this, using the craft knife and ruler; cut out triangles, rectangles, squares, and lines – curving the latter into waves and horseshoes. In addition, also roll some small balls.
- Then, taking these shapes, scatter them across the background colours produced in step 1. However, make sure these shapes go on their opposing colours; e.g. yellow shapes onto a blue and green background, blue shapes onto a yellow and green background, green shapes onto a yellow and blue background.
- Having scattered your shapes across the backgrounds, take a rolling pin and gently roll this across the surface, pushing the shapes into the background and smoothing it flat. You now have a patterned clay design. Please be aware this will only be on one side.
- Next, draw and cut a circle template with a diameter of 4cm. Taking this template, place it onto each of the patterned clay’s and draw around it – thereby cutting out a patterned circle. You should now have three circles with pattern designs. These will form your earrings and brooch.
- Now, choose which of the two circles you want for the earrings. Having decided, place a hole near the edge of each circle. Make the hole wide enough for the wire to go through. The remaining third circle will be the brooch, and as such is doesn’t require a hole.
- Next, place all three circles (without any metal) onto the baking parchment/tin foil, and follow the baking instructions for the polymer clay (it differs per brand).
Tip: the thinner the earring the shorter the time frame, and don’t worry it will be quite bendable.
- Once cool, you can sand-down the backing and edges of the circles by using a very fine sandpaper. This will help to make it smooth.
- Apply 1-2 layers of gloss varnish – leave to completely dry in between (normally 8-12 hours).
- For the brooch, using superglue to attach the pin to the plain side of the circle.
- For the earring’s; use pliers to pull open the bottom loop of the earring, and thread the wire through the hole. Make sure the hook is facing the back of the circle, so you have the patterned side facing forwards. Once happy the hooks are in the right place, use the pliers to push the loop closed again.
Ta-dah you now have your own one of a kind abstract earrings and brooch.

