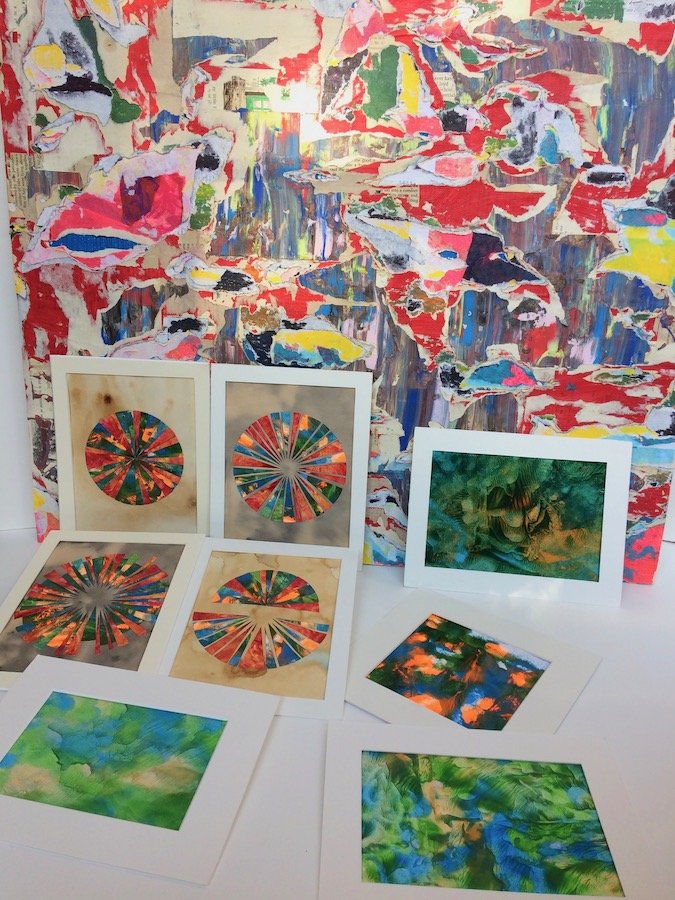
Let loose with these abstract designs. From scribble art that connects you to your inner child, geometrics that makes use of “maths” (not), and blocking to add a touch of layers.
BLOCKING
Two ways will be shown here:
- Painting over a shape/object.
- Masking tape to create an area you paint into.
You’ll need:
- Acrylic paint
- Paintbrush
- Water
- Pencil
- Ruler (optional)
- Card
- Scissors
- Masking tape
- Canvas
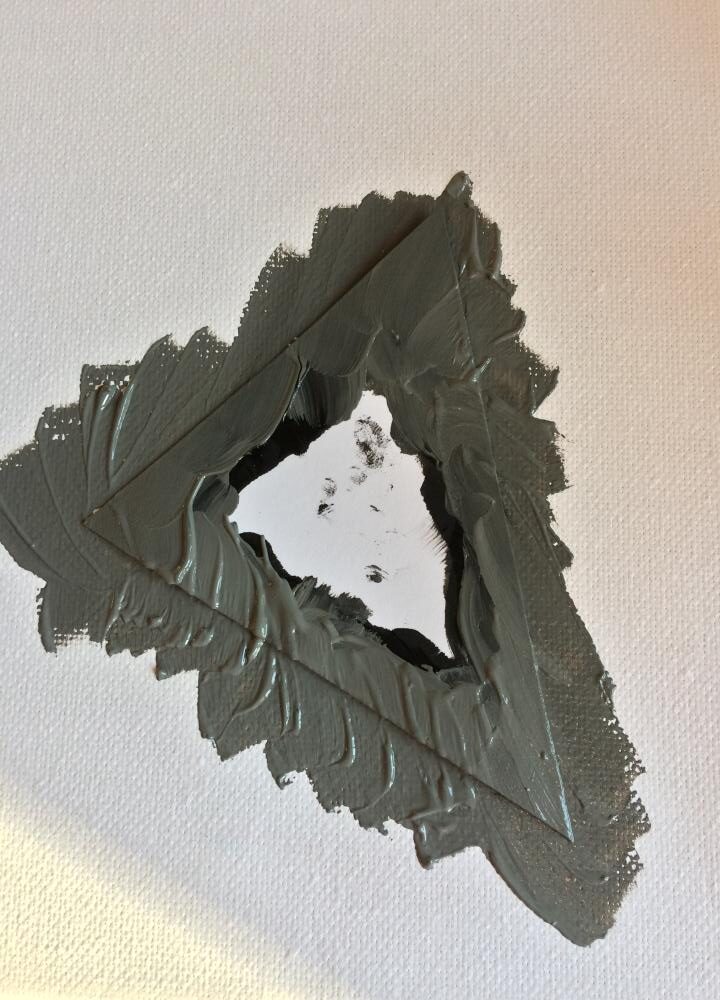
Painting over a shape method:
- Draw and cut out the shapes you want from card.
- Choose your acrylic colours or shades.
- Place a shape onto the canvas and hold it down tightly as you paint over its edges.
- Repeat step 3; mix it up by using different sizes of the same shape and/or different colours.
- Your patterns will soon overlap. You can either wait for the first layers to dry or embrace the messy – personally I embrace the messy.
OPTIONAL: Once dry apply a light colour wash, in this case yellow, with a ratio of 1:4 paint to water.


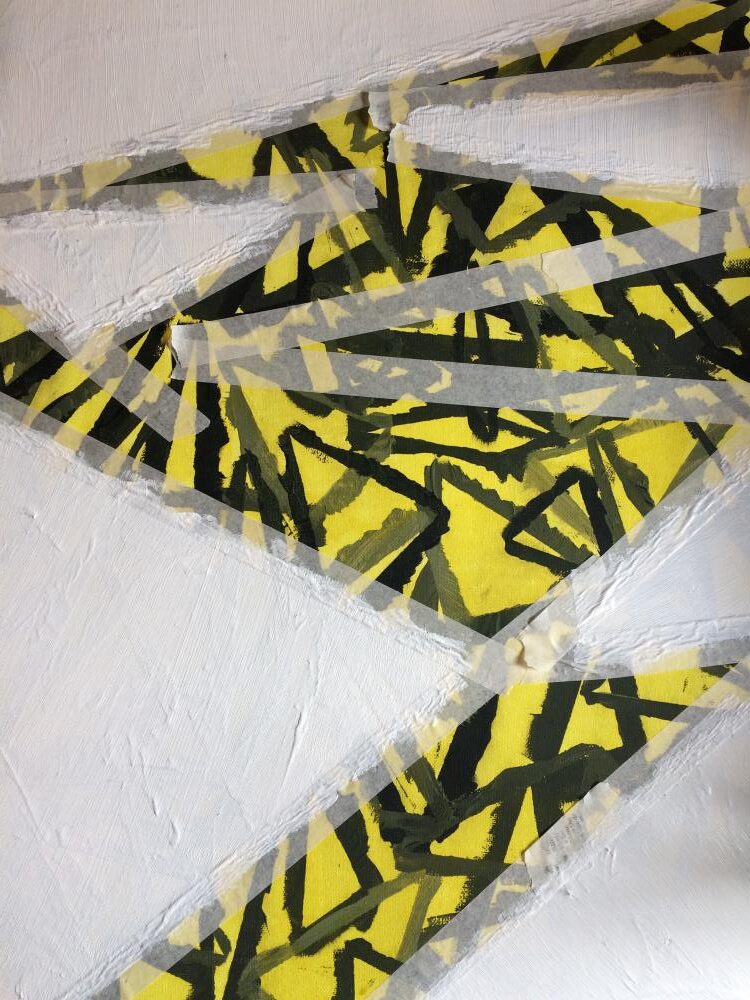
Painting within method:
- Place masking tape in various positions across the canvas (if you’re painting onto paint – ensure it’s dry first). Join some of the tape together at various intersections and angles.
- You can be more adventurous in your shapes; stars, lightning bolts etc or even use masking tape to spell out a word. It’s up to you.
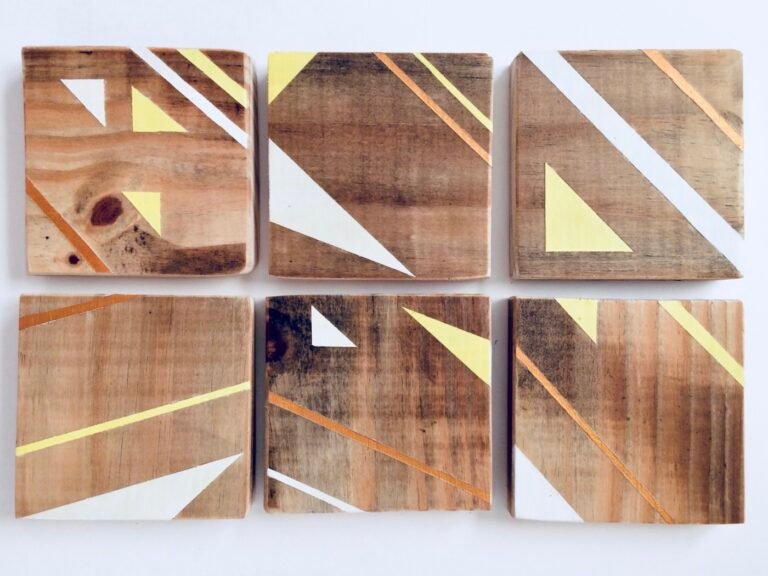
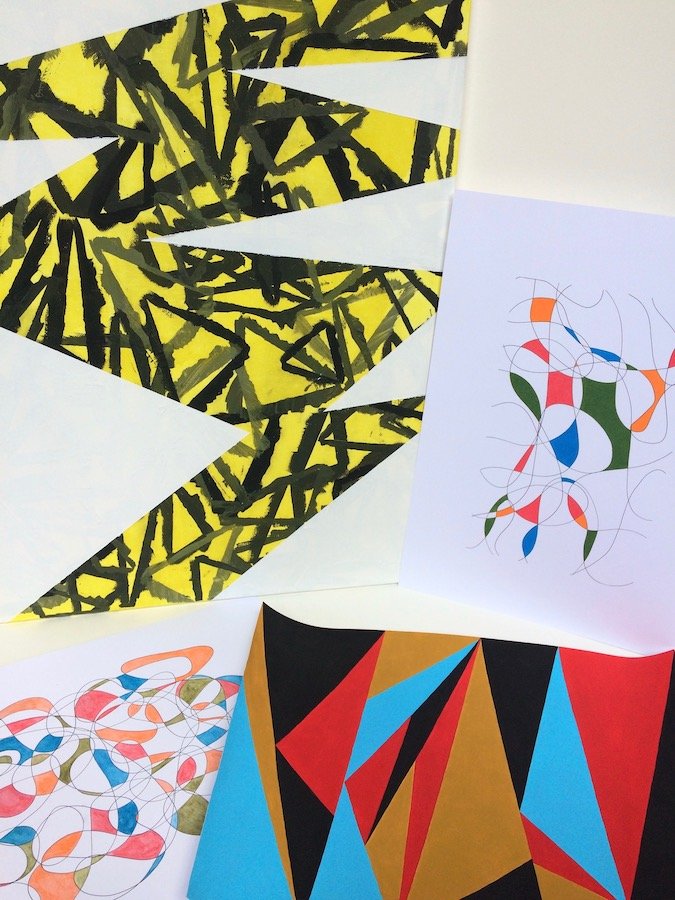
- In this example I continued the theme of triangles and created a handful of larger ones using the masking tape as a boundary.
- Once you’re happy with the shapes and position of your masking tape, use a contrasting colour to bring out the different layers. In this case I filled in the triangles using white. Why not be adventurous and try a few different colours?
- Paint between the masking tape. To get clean straight lines of colour, paint just over the inner edge of the masking tape.
- Once you’ve finished painting, gently peel of the masking tape to reveal your final design.

GEOMETRICS
You’ll need:
- Ruler
- Pencil
- Acrylic paint
- Paintbrush
- Card
Method:
- Choose your geometric shape: rectangles, squares, hexagon (this is hard), triangles etc. It will not work with circles as you need the shape to have strong lines so as to fit together. The more sides the shape has, the more you will need to calculate where to put the next shape so there’s no gap.
- Start off at one side, and using a light pencil keep to one geometric pattern – again you don’t want there to be any gaps. However, you can mix squares and rectangles together.
- In this example I chose triangles because you can easily vary the size and shape.
- Have some of the shapes finish at the end of the page, while having others start from within. The more varied your pattern the better the end result.
- Once you’re happy with the pencilled design choose your acrylic colours – make sure each colour repeats at least once. Therefore, if you have a simple design stick to as few colours as possible, for it will really make the pattern stand out.
- When painting make sure the same colour never touches and try not to follow an order in the rotation of colours – it will end up looking striped.

SCRIBBLE
I loved doing this as a child, its super-easy and of course it varies each time.
You’ll need:
- Pen
- Paper/card
- Pencil crayons/acrylic/watercolour paint (your choice)
- Masking tape
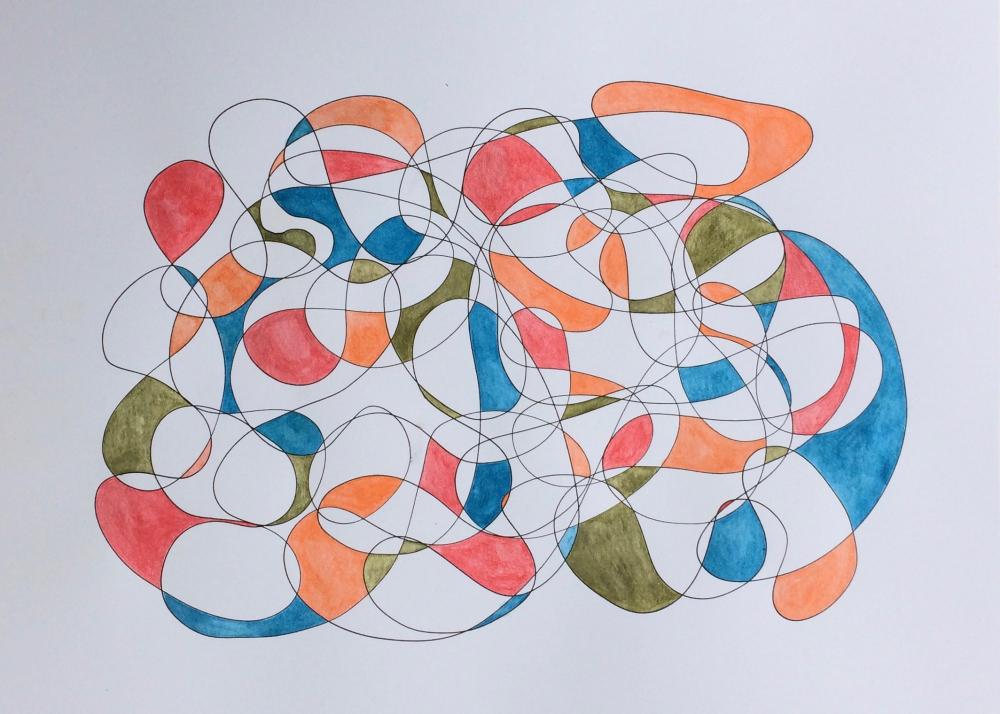
A full scribble method:
- Start a good few centimetres from the edge – you don’t want to go over it – and then letting the pen relax in your hand, go all over the page as though you’re making a roller coaster design; have loops, curves, “straighter” lines and have them criss-cross and intersect. Make sure to vary it, otherwise it could look like a bunch of 8s.
- When completing the design either go back to where you started from or join to another line you’ve drawn.
- Colour within the points that intersect but leave some blank for a sharper contrast.
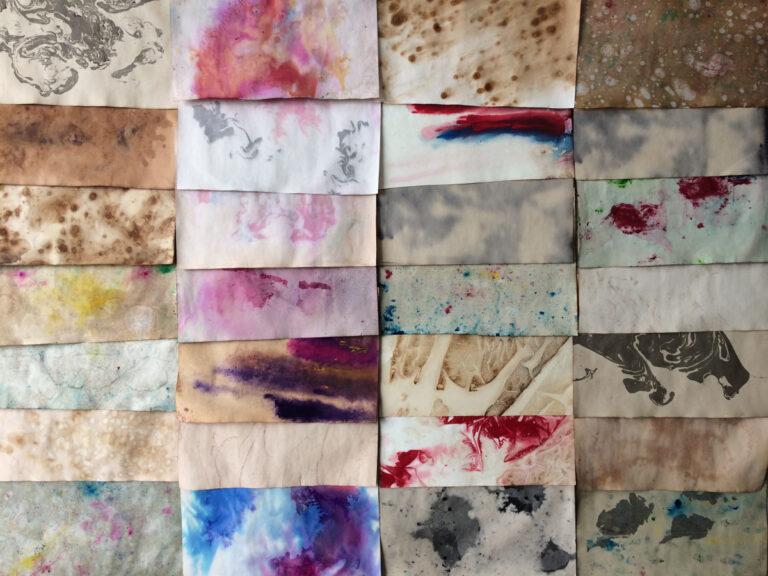
- Here I painted using watercolours – however the effect is poor when compared to other mediums; acrylics, oil, even colouring pencils – although the use of pencils requires you to go over the colours repeatedly so as to avoid lines and patches.
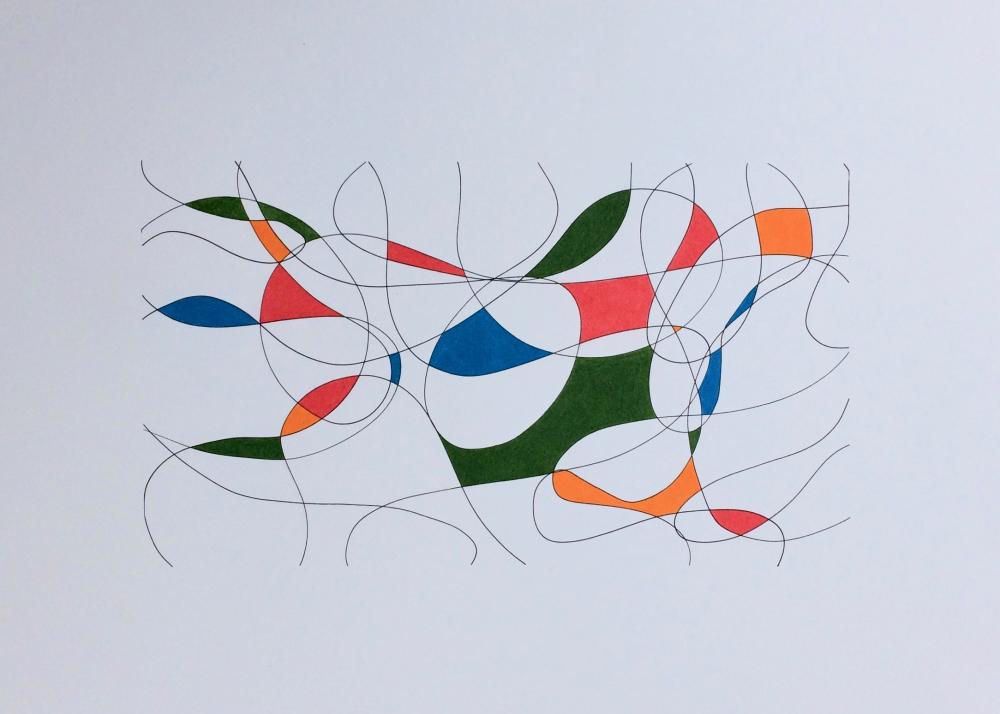
Interrupted scribble method:
- Place masking tape along the edges of the paper/canvas. Start your line on the masking tape before you go within the blank canvas. Keeping the pen on the surface, draw curves and loops that go within the tape, to outside of.
- Gently peel off the tape – you should have various lines on all four sides that end with a sharp point. Paint only with the connecting lines and again leave some blank for a sharper contrast.
Share you abstract designs, and see what blocking, geometrics and scribble art you can create.
Have an art guide you’d love others to see and follow? Why not send us a submission? We’d love to hear from you.