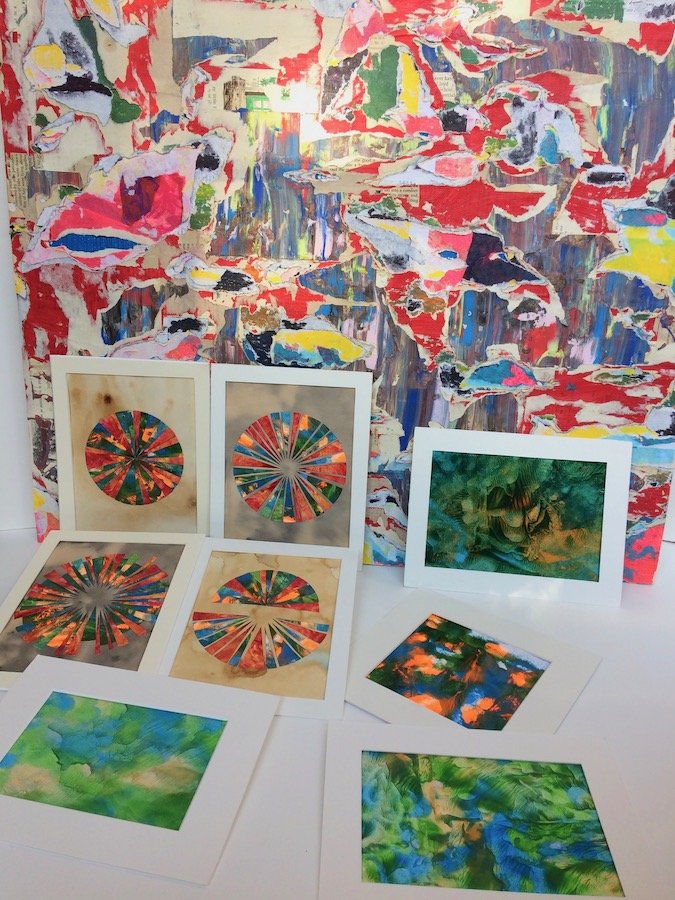
Stylish, fun, and uniquely different, these abstract painting techniques will produce something stunning each time. Embrace being messy with a drip and flick, be surprised by how each pouring of paint will be different, to engraving freely. These easy to follow guides, are sure to keep you entertained.
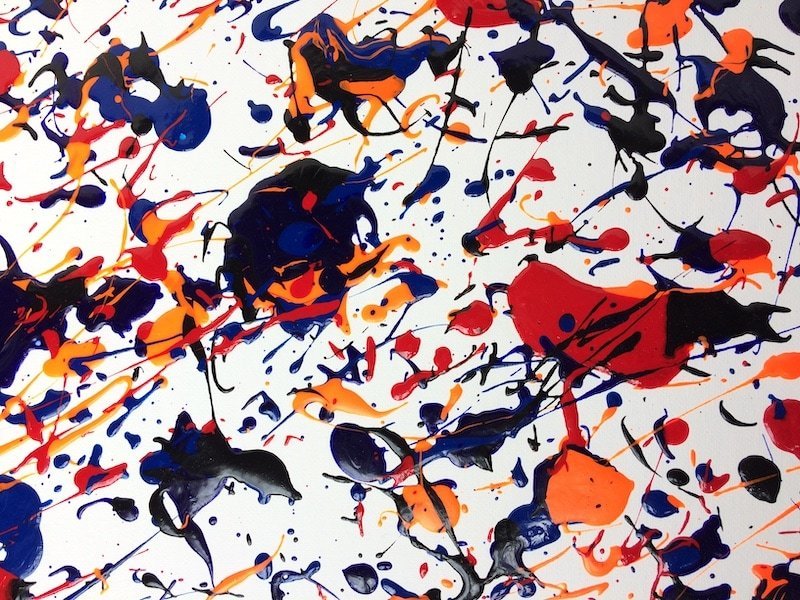
DRIP (known as Action Painting)
You’ll need:
- Dust sheet
- Paper/canvas
- Acrylic paint
- Pots
- Scraper/brush
- Pouring medium/water
Method:
- Choose a selection of acrylic paints – the more vibrant the better. Mix the paint with either a pouring medium ratio of 1:2, with a small amount of water to make it like runny honey. Or mix with water between a 1:1 or 1:2 ratio till it’s thicker than milk.
- A plain white canvas works really well in showing the colours, but have a play around. Put the canvas on some dust sheets as you’ll go outside the frame.
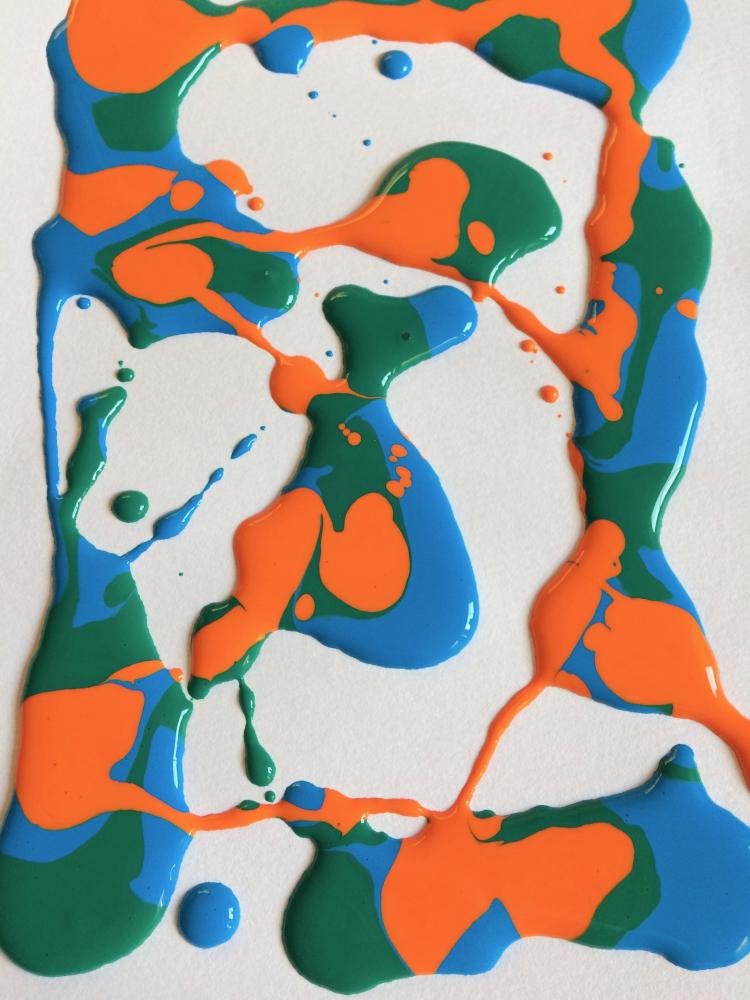
- Having mixed the paints well: You can either pour directly from the pots on to the canvas – do this slowly and stop intermittently so as to avoid having one giant patch of paint. Or/and use a scraper/brush to take some of the paint and drop globules, splatters and drips across the canvas.
- Interchange between paints, have them land on each other and cross paths. Make sure to go to the edges – don’t be afraid to go over.
- Keep going till you’re happy with the result. As the paint will take a while to dry, leave the canvas on a level surface (this is to avoid the paint running).
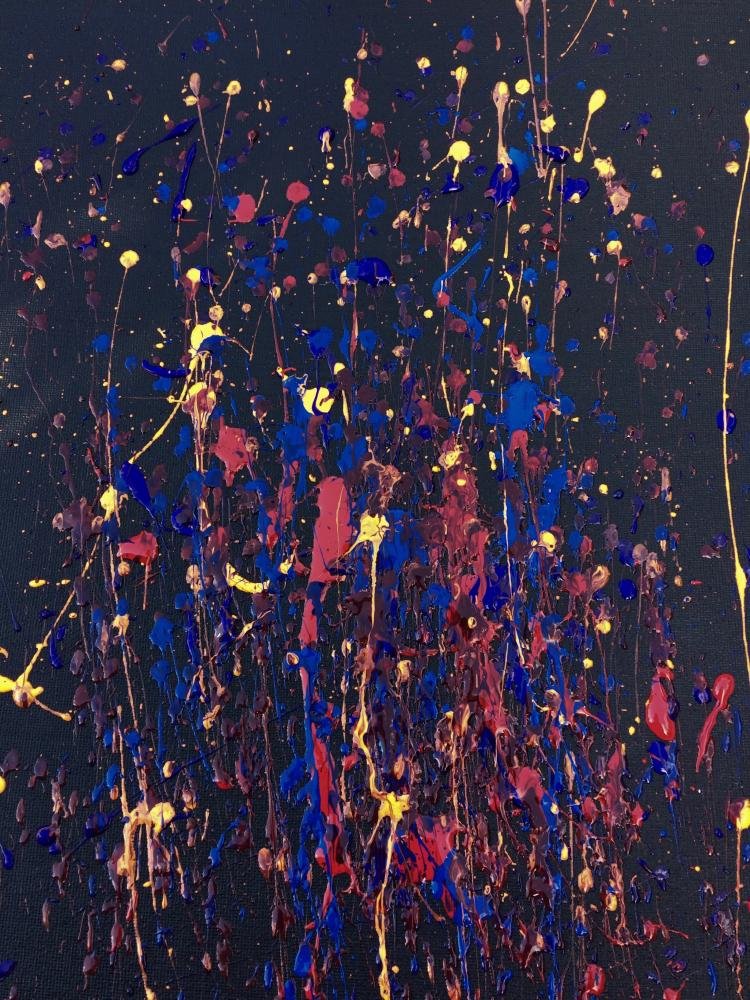
FLICKER
Warning: this is messy.
You’ll need:
- Dust sheet
- Acrylic paint
- Paper/canvas
- Pots
- Paintbrush (large)
- Pouring medium/water
Method:
- Choose a selection of acrylic paints that will contrast both with the background and each other. Mix the paints with either a pouring medium or water till the consistency is thicker than milk.
- Place a dust sheet under the canvas and wear clothes you don’t mind getting paint on.
- Dip a large paintbrush into the paint. Then position the bristles towards the canvas and flick the ends by running your finger along it. Otherwise try having the bristles in line with the top of the canvas and suddenly flick your wrist downwards – this will create a flicked line of paint. But again, this is messy.
- I used one paintbrush throughout which meant the colours changed over time, which I prefer. But it’s your painting so experiment with brushes.
- Keep going till happy, but less is more in this case. Too many layers of flicked paint and you won’t be able to easily distinguish between them.
POURING
You’ll need:
- Paper/canvas
- Acrylic paint
- Pots
- Pouring medium/water
- Paintbrush
- Varnish (optional)
- Card (optional)
Making the mix:
- Choose two or more colours that contrast, but no more than five.
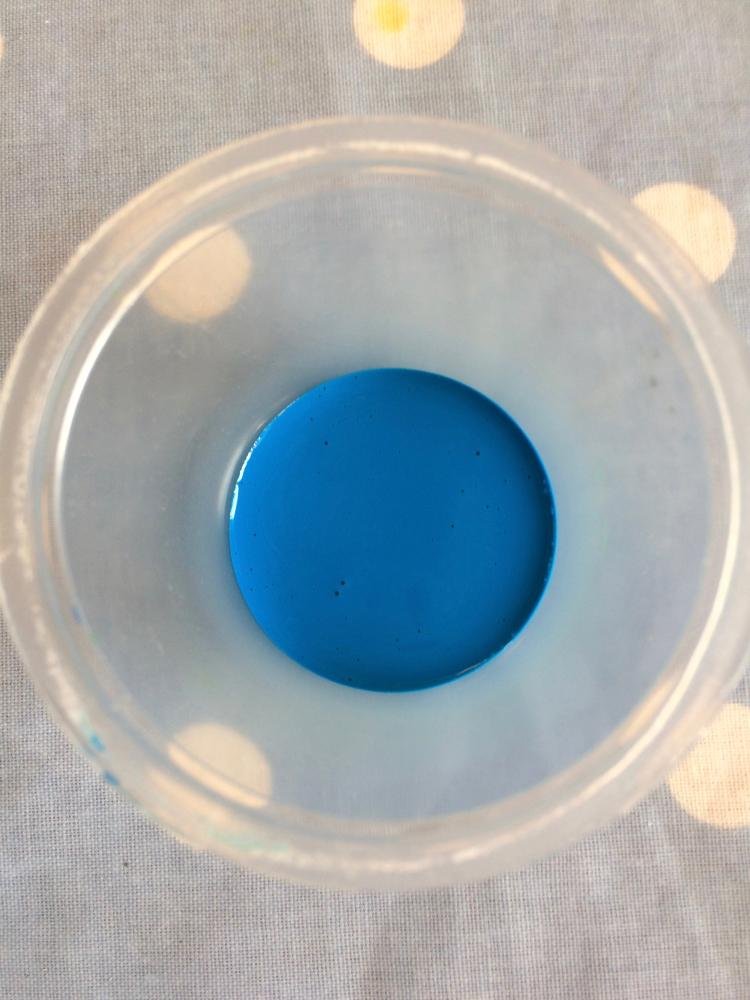
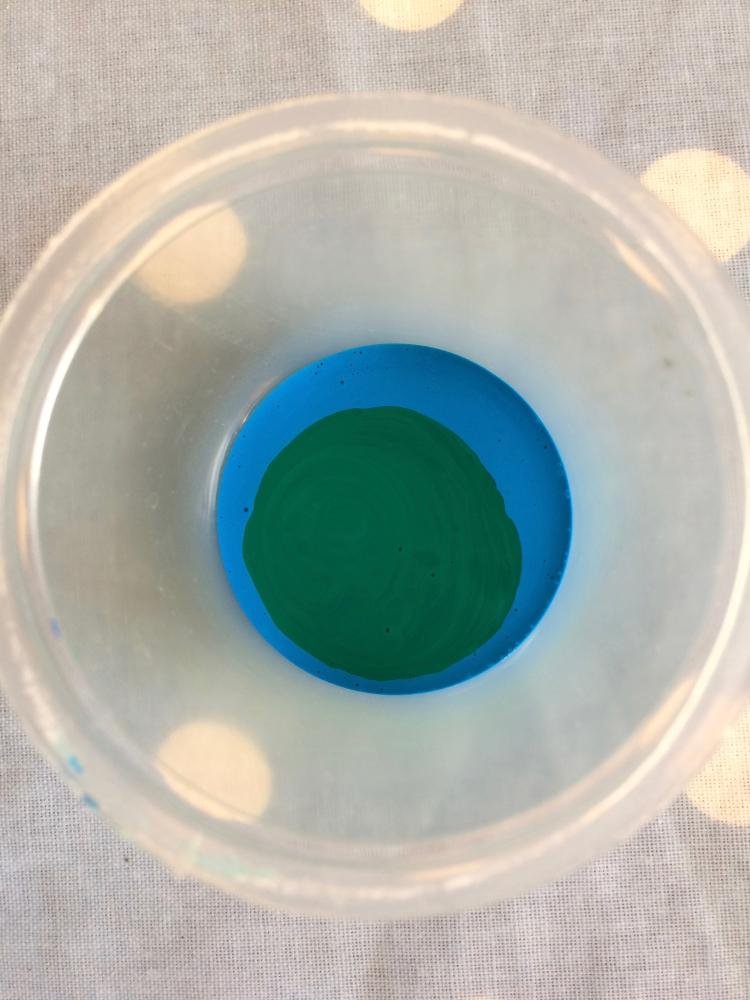
- Individually mix each of the acrylic paints with either a pouring medium or water – until its consistency is a mix between milk and runny honey.
Pouring cup technique method:
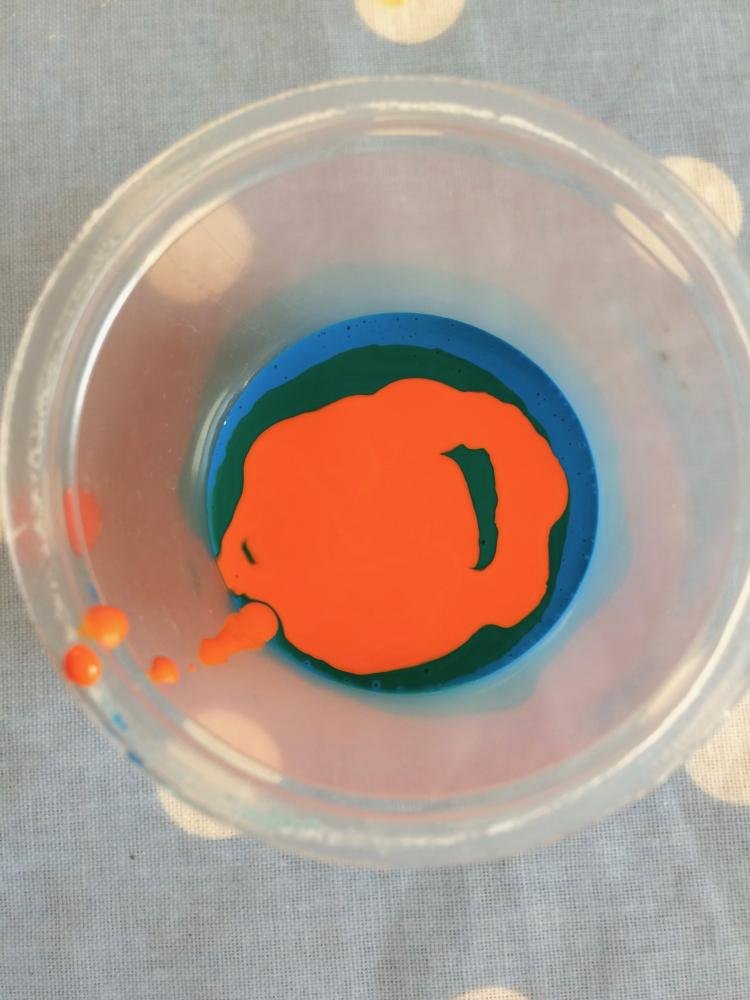
- Place the colour mixes one at a time into a pot, or interchange between them, till the pot is ½ to ¾ full. In the end you want enough paint to cover the canvas – more is better in this case.
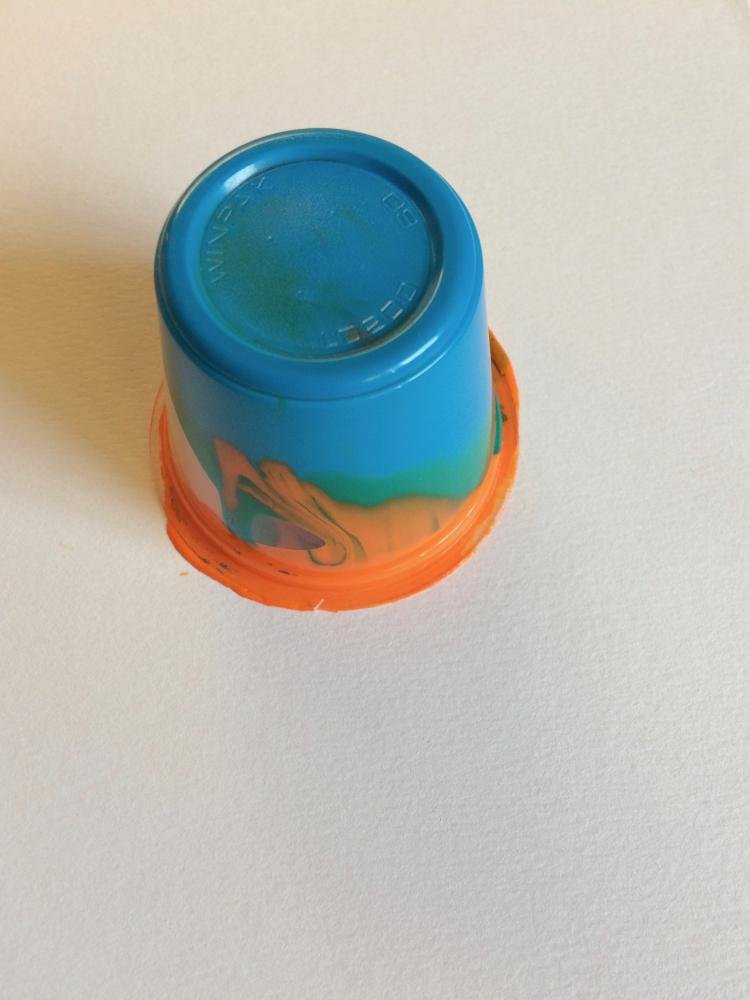
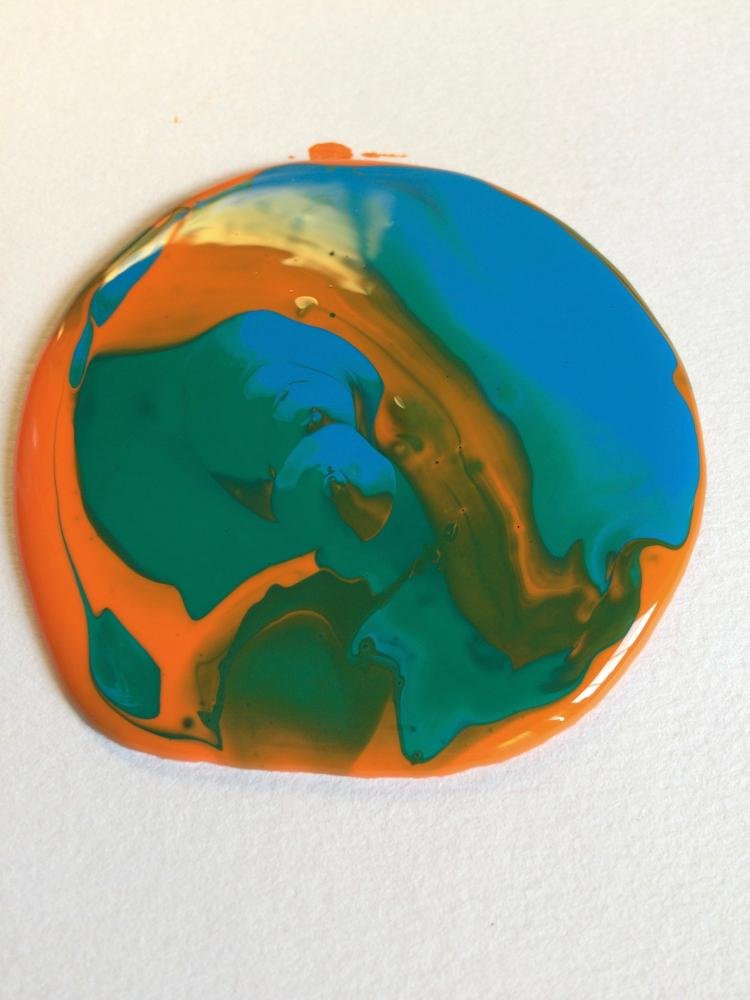
- Position the middle of the canvas on top of the pot – much like a lid. Then keeping the canvas tightly on top of the paint pot; flip them over together. The cup should now be upside down and the contents should have mainly stayed inside. Then twist and lift of the pot – the paint will pour out in a giant puddle to spread across the canvas. Let any remaining paint pour out of the pot into the middle.
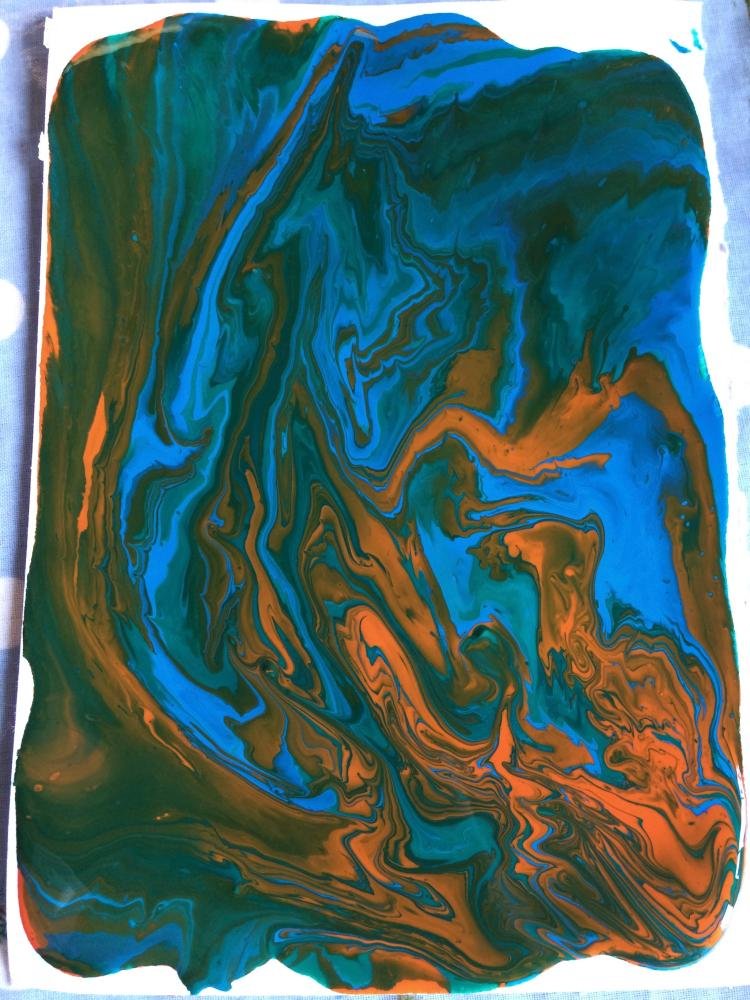
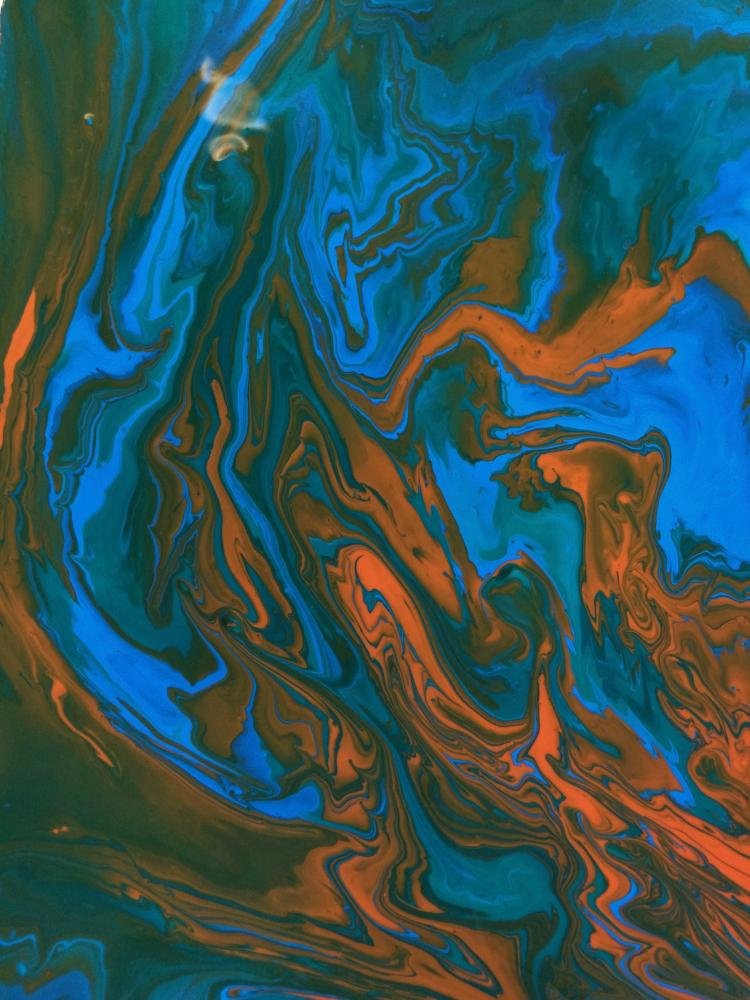
- Then lifting from the edges of the canvas, tilt it from side to side until the paint has covered the canvas entirely – leaving you a marbled image.
- Leave to dry on a flat surface – best to leave for a few days.
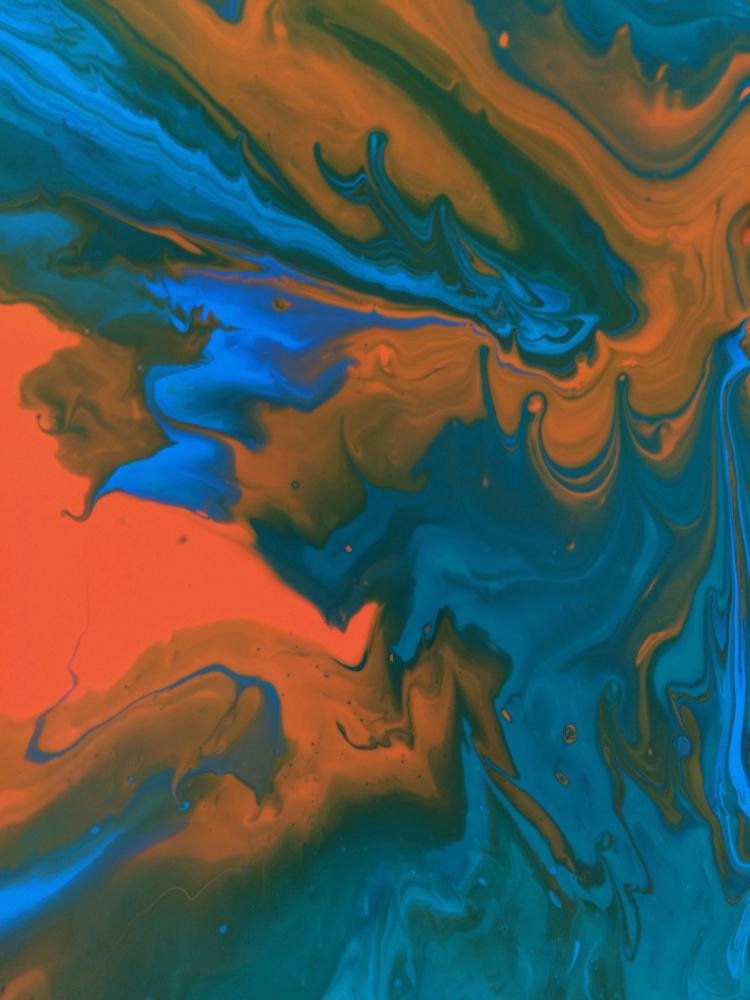
Pouring patches onto the canvas method:
- Drop large patches of the different paint mixes into the middle of the canvas working outwards. Place different colours on top of each other and next to each other.
- Then lifting from the edges of the canvas, tilt it from side to side until the paint has covered it entirely. You should now have a marbled image.
- Leave to dry on a flat surface – best to leave for a few days.
OPTIONAL: Blocking with pouring techniques:
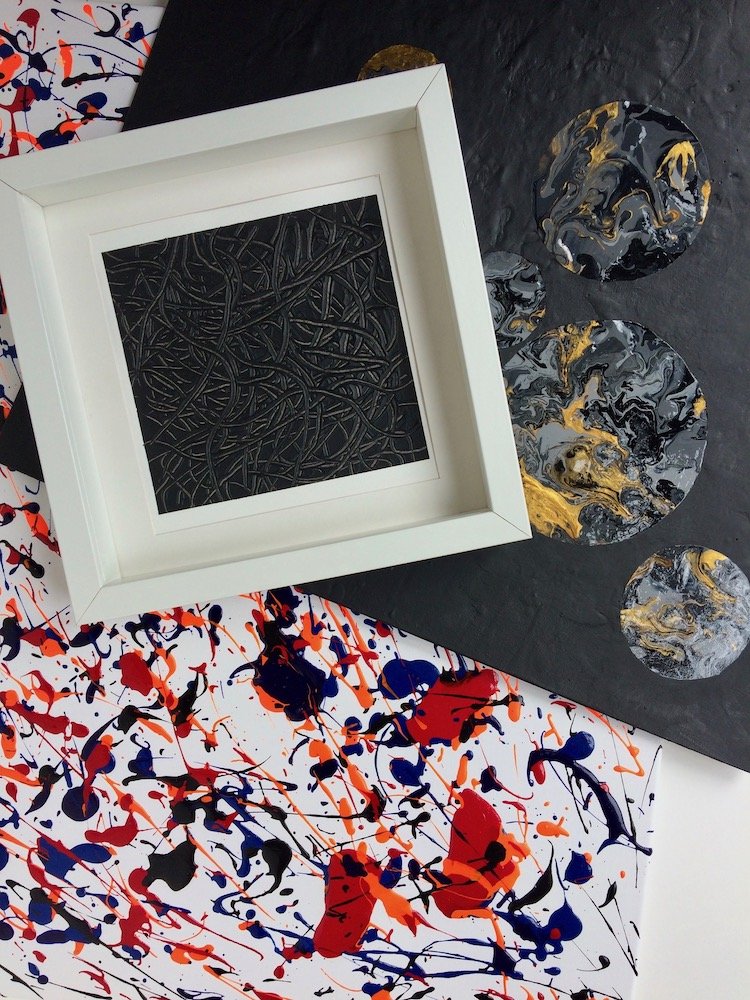
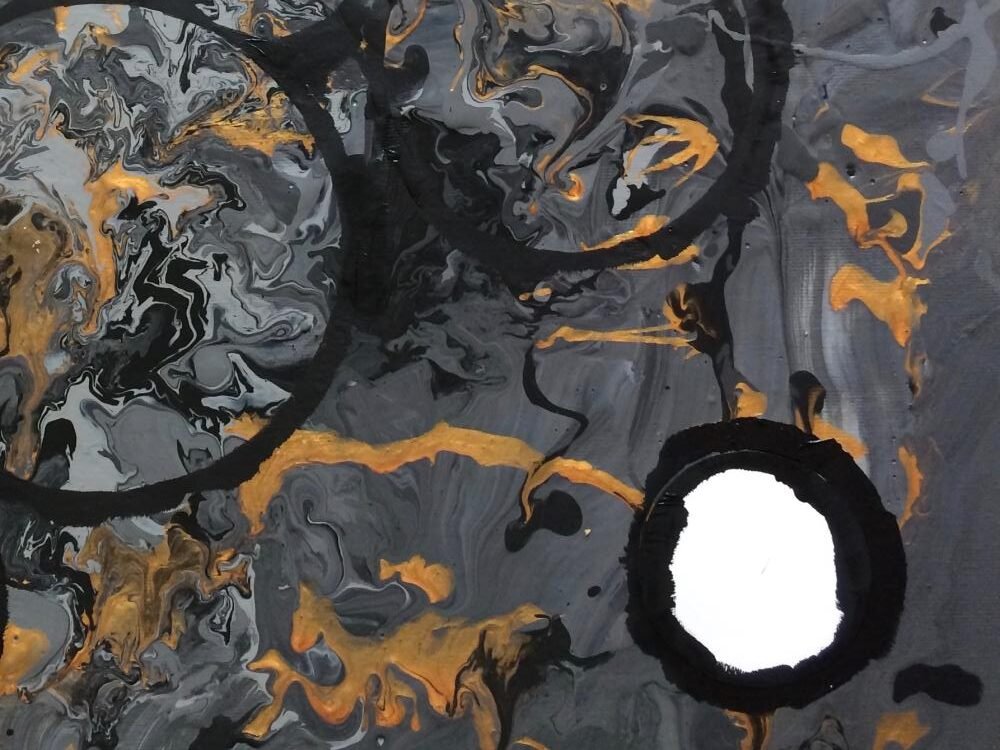
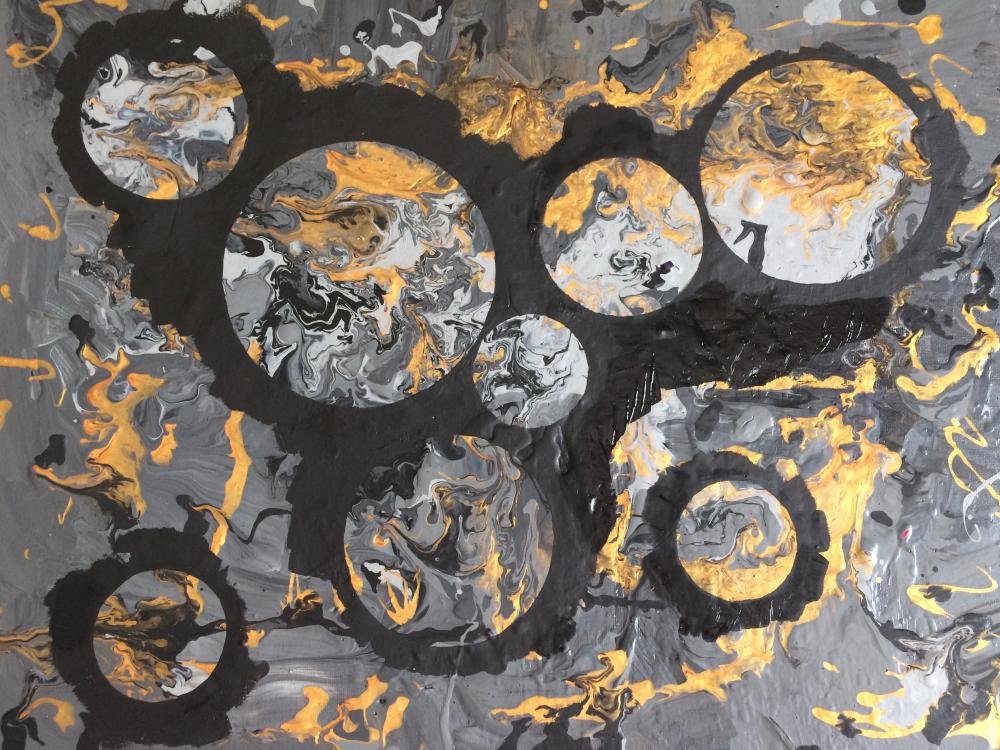
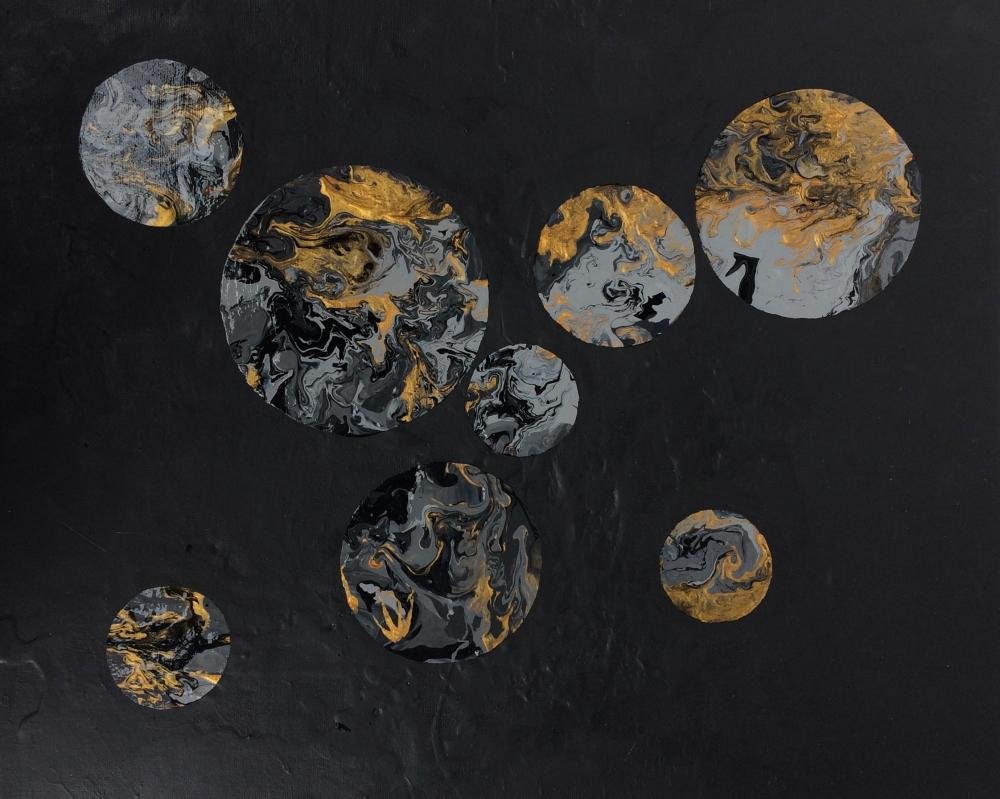
Having already created a marble image, in this case with the colours; grey, black and gold, I decided to combine the image with some blocking (using a shape to paint over).
Method:
- Cut several circles of varying sizes. Place the circles over the best bits of the marbling.
- Choose a colour that will highlight the marbled paint – black and white work well for the feel of space.
- Using this colour, paint over the edges of the circles to give you a perfect sphere. Once this is done fill in the rest of the canvas just leaving the circles bare.
- Leave to dry for a few days, then just and only just, gloss the circles – this makes the remaining “marble” really pop out.
Voila you now have a unique pouring image.
ENGRAVE
You’ll need:
- Acrylic paint
- Pouring medium/water
- Card/canvas
- Pen/pencil/scraper
Method:
- Choose one block colour. Mix the acrylic paint with either a pouring medium or a little water till it’s consistency is like thick runny honey.
- Spread the paint in a thick layer across the canvas – recommend a few millimetres deep.
- Take either a pencil or dried-up pen and scrape lines into the paint. This will reveal the canvas below, and will dry to look like engraved paint.
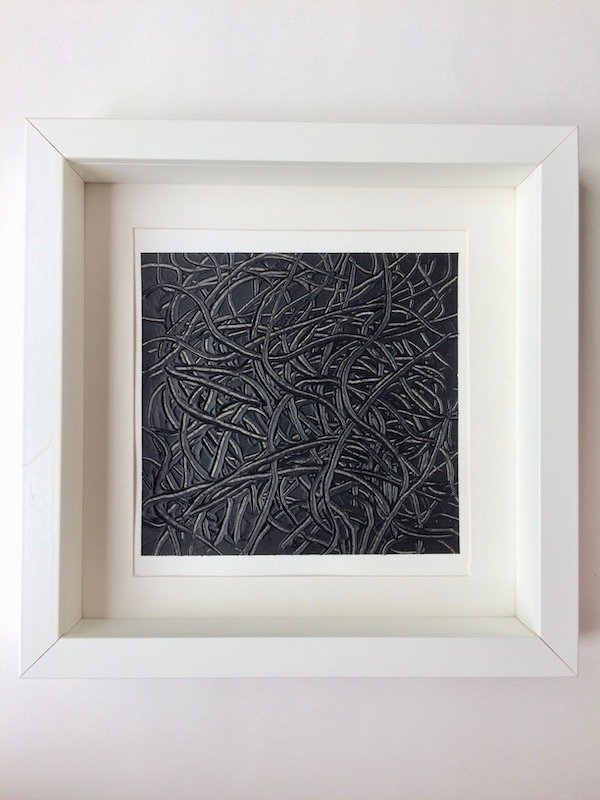
Experiment by having the original canvas painted different colours from the block paint. That way when you engrave through the block paint, you’ll reveal a rainbow of colours below.
Enjoyed these abstract guides to drip, flicker, pouring and engraving? Well we have plenty more on our create page, or maybe you fancy something else. Better yet, do you have a submission you’d like to share? Whether it’s a guide, article, review or something else, we’d love to hear from you.

