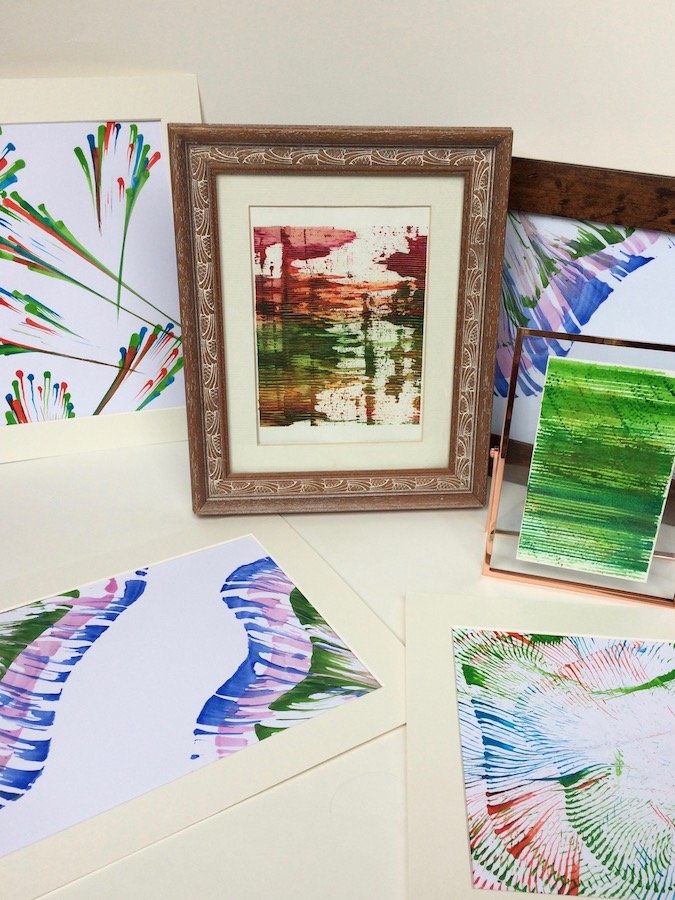
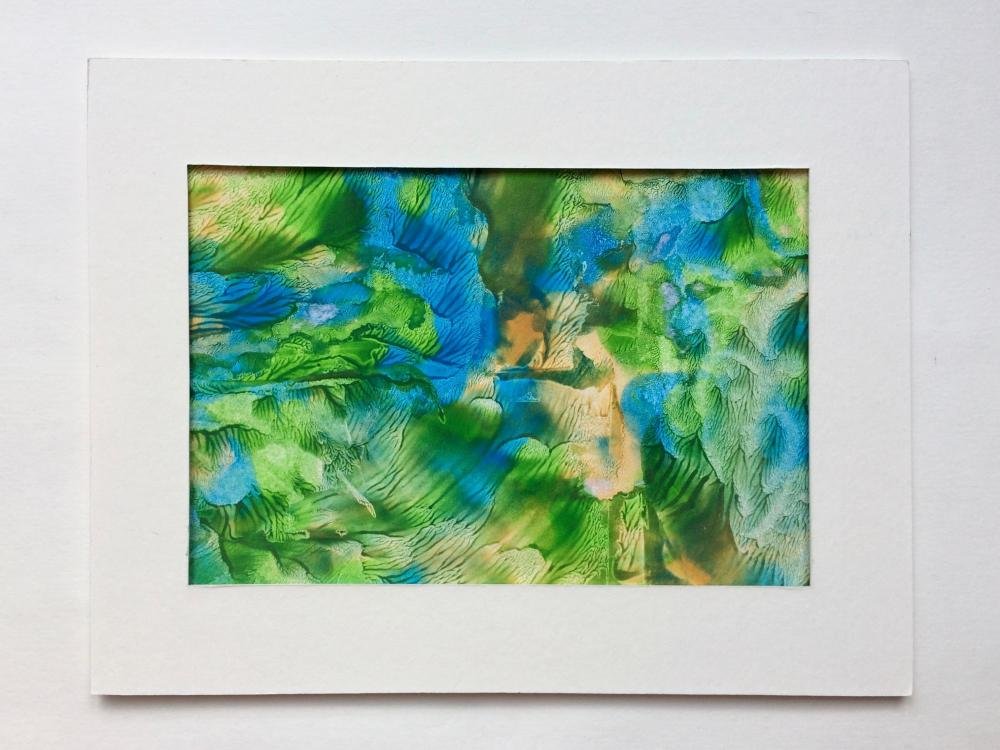
These techniques are great fun to do, what’s more you can use a collection of scrap-paper and earlier artworks, and with it create something new.
Smudging and Rippling
You’ll need:
- Acrylic paint
- Water
- Canvas/card
- Paper
Method:
- Choose three to four different acrylic colours, mix each separately with water for a 1:1-1:2 ratio, until it’s like thick milk.
- Pour droplets of the paint-mixes across the entire canvas, and with a slightly larger amount in the middle.
- Place some A4 printing paper on top (this tends to stick less). Push down in the middle and across to all the sides. Try to do this as quickly as possible, for you don’t want the paper to stick.
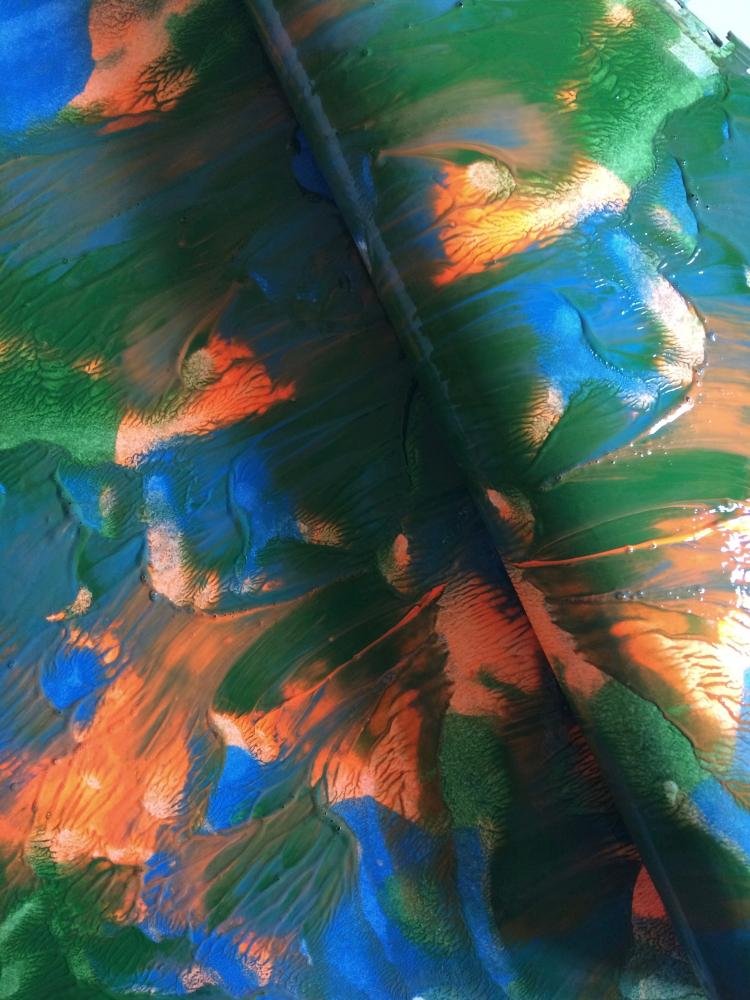
- Now, you can either peel the paper directly from the canvas, or scrunch it and lift, which will create larger ripples.
- If the paint is overly thick in places, press more paper to that section to help absorb the excess – it also has the benefit of creating more ripples.
OPTIONAL:
- Use card instead of paper to add a more distressed look to the image:
Push the card down hard and leave in place for about 10 seconds. Then as you peel off the card, some of it will stick and tear – giving the look of a vintage poster design.


Collage Cutting
Collages are a great way of getting rid of scrap art-work, abandoned designs, and stacks of publishing material.
You’ll need:
- Pencil
- Geometry compass (if you’re doing circles)
- Collage material
- Scissors
- Craft knife
- PVA glue
- Card/paper/canvas
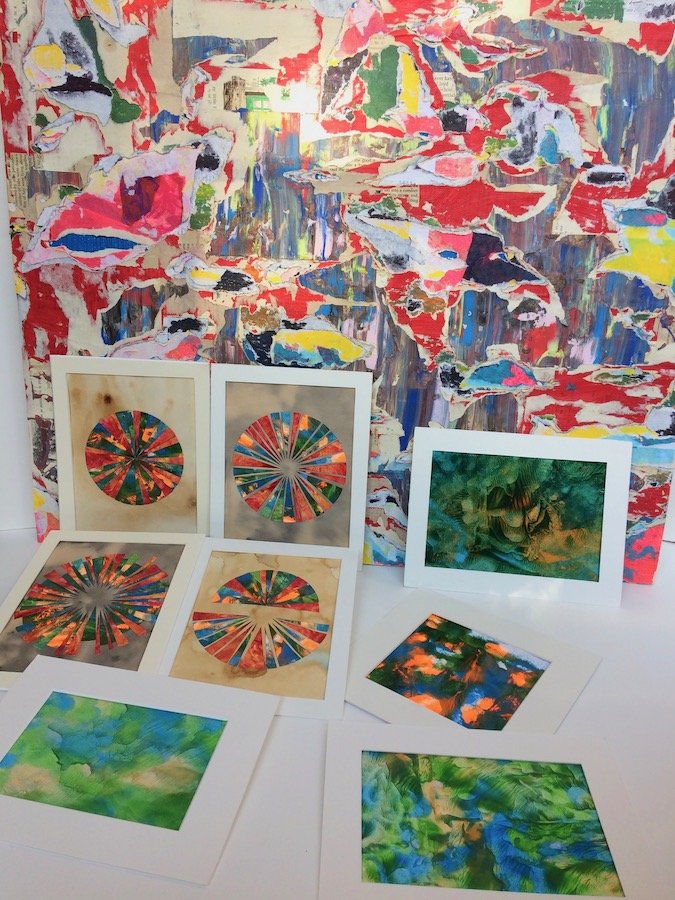
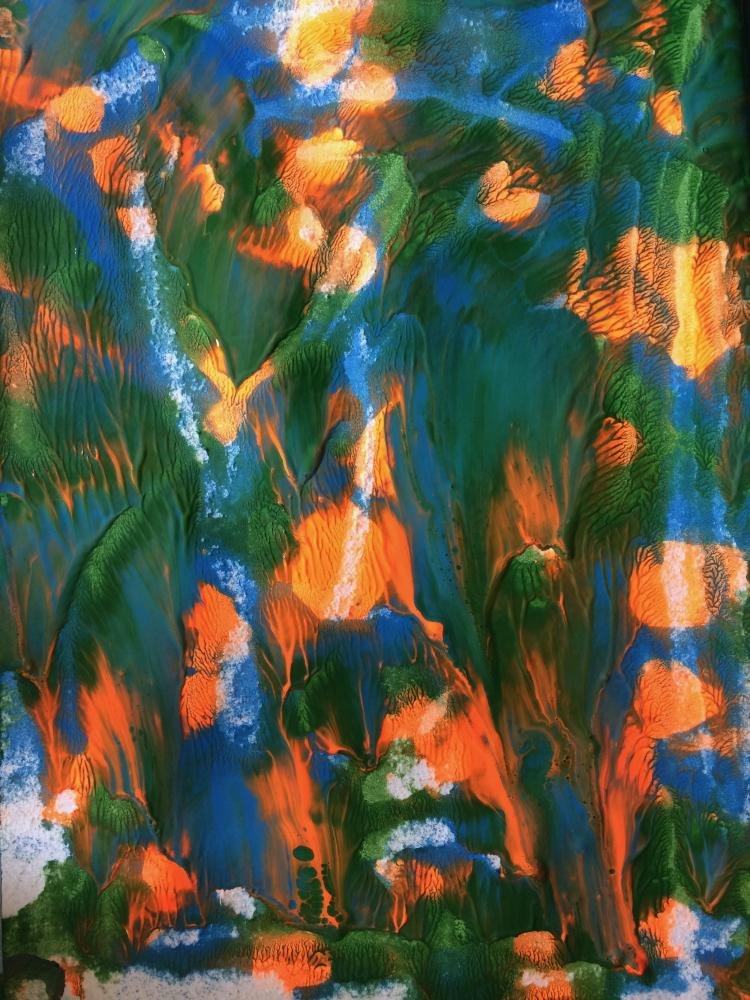
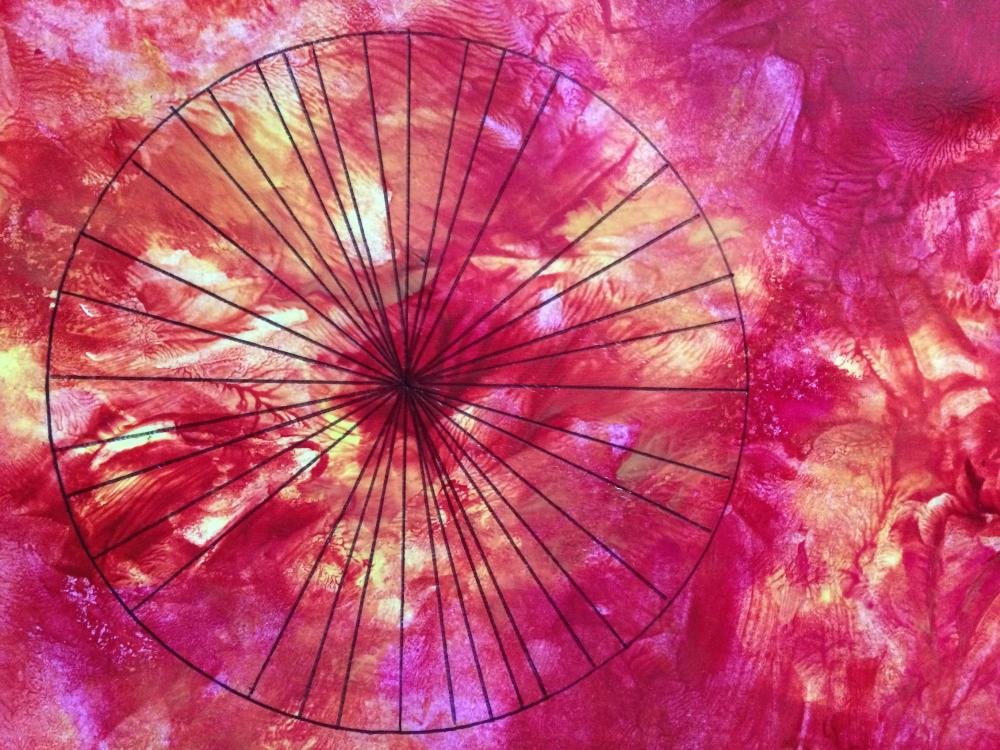
In this example I used three different smudging and rippling images for the collage material.
Method:
- Select the canvas for the collage to sit against. Think about whether the collage will cover it completely or whether some of the backdrop will show?
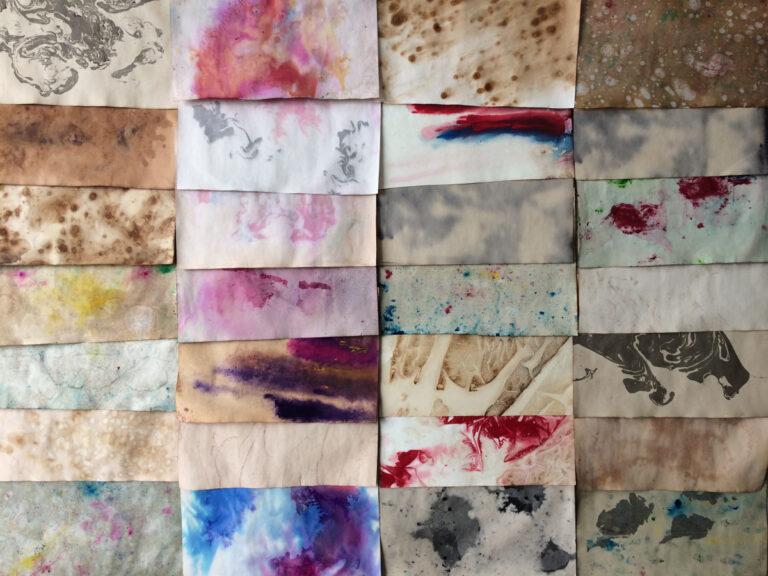
- In this case I used some stained-paper as my canvas.
- Decide upon the shape or pattern the collage will make (lines, layering and geometrics work best). For this example I chose a circle.
- Draw several copies of the chosen design (in this example a circle) onto each of the selected collage materials.
- Still using a pencil, divide the shape into half, quarter, eighths etc till there are multiple thin strips.
- Optional: make some of the segments thinner and larger than others.
- Cut the segments of the circle out.
- You should now have several segments from multiple circles and different collage materials. Mix and match the segments onto the canvas (or canvases) till you’re happy with the new design – glue down and it’s done.


Collage Layering and Tearing
You’ll need:
- Canvas/MDF board
- Several pieces of scrap paper/newspapers/publishing media
- Screwdriver/blunt knife
Method:
- Select 12 or more different paper materials.
- Suggestion: abstract paintings, old posters, newspapers, etc work well in a collage. In this example I used abstract images on a range of different textured paper.
- For better results mix materials as well; newspaper to card to tissue paper etc
- Make each of the layers the same size and make sure they’re different in colour.
- Stick each of the layers together using PVC glue.
- While it’s still slightly tacky, at different parts of the canvas start peeling the layers away, stopping at different points e.g. 3 layers, 5 layers, 8 layers, 10 layers down.
- It’s easiest to peel from the edges, but this will eventually look odd. Using a blunt knife, or even a screwdriver, make several openings further down within the picture, which will allow you to peel back the layers.
- You’ll eventually end up with a very distressed abstract image.


