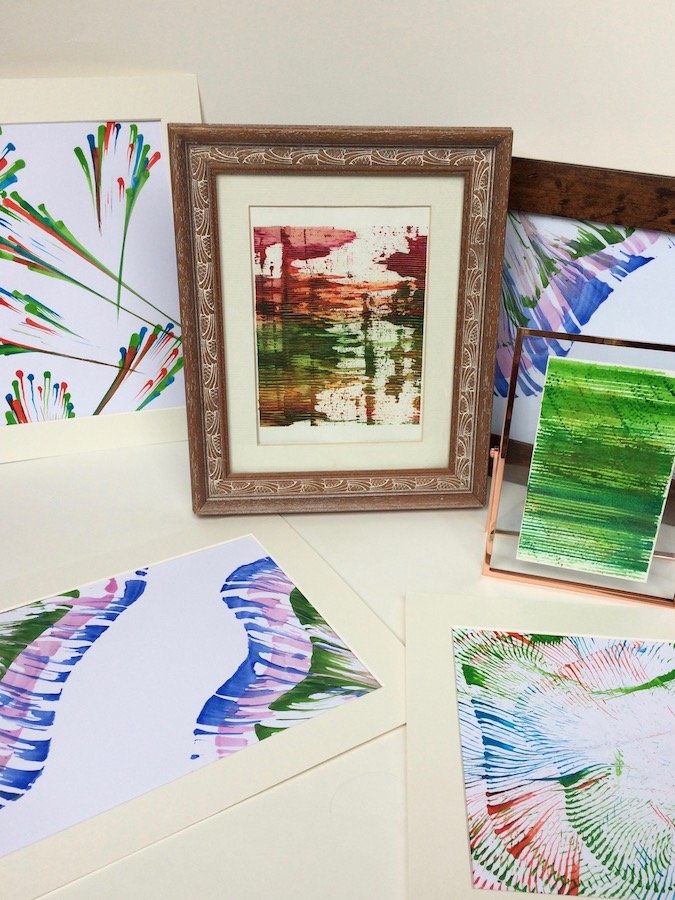
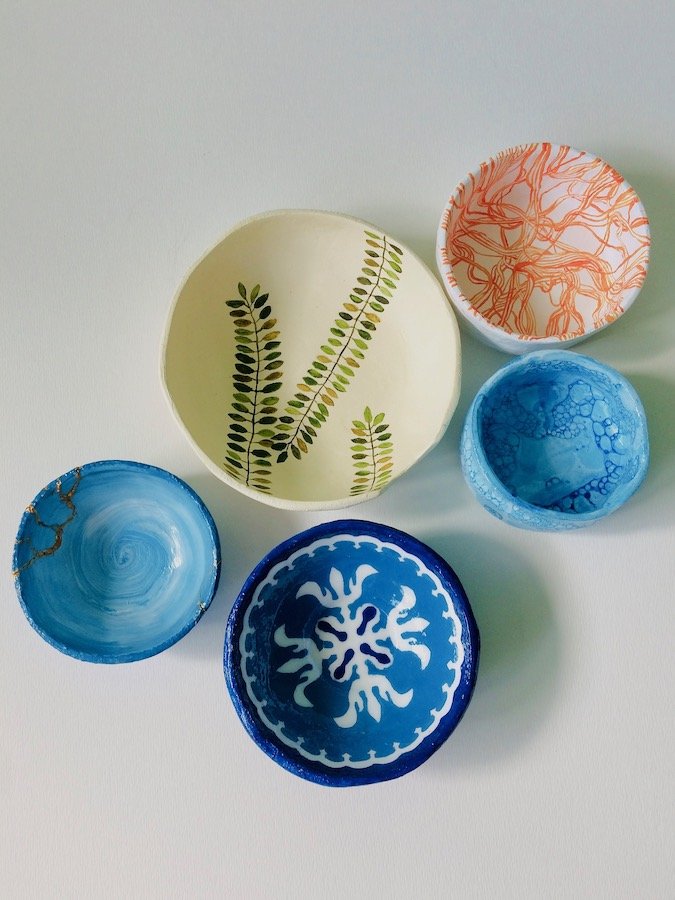
Using some household items, and these step-by-step guides, you can experiment and create something cool and original for your home.
STRING
You’ll need:
- String
- Scissors
- Acrylic paint
- Water
- Canvas/card/paper
Method:
- Cut three or more pieces of string, making them roughly the same size in length. The length depends on whether you’re doing a small design or a large design – cut the strings accordingly – personally I suggest cutting to the width of the canvas.
- Dip the string (minus the two ends you’ll hold) in watered-down acrylic paint: 1:2 ratio. Add more water if needed till the consistency is somewhere like milk.
- Dab off the excess paint so it doesn’t drip.
- Then, lengthwise across the canvas drape the string in a wave. Slowly pull the two ends of the string together, before dragging across and off the canvas.
- Choosing a different colour repeat step 2. Then place the string above or below your previous design – try to roughly copy the same wave as before. Pulling the two ends together, drag the string off in the same direction as before. This will create an eye-catching image. Keep repeating till happy with the design.




CHAIN
You’ll need:
- A small-ball chain
- Pliers/strong scissors
- Acrylic paint
- Water
- Canvas/card/paper
Cut the chain to match the length of the design. Personally, I suggest the width of the canvas.
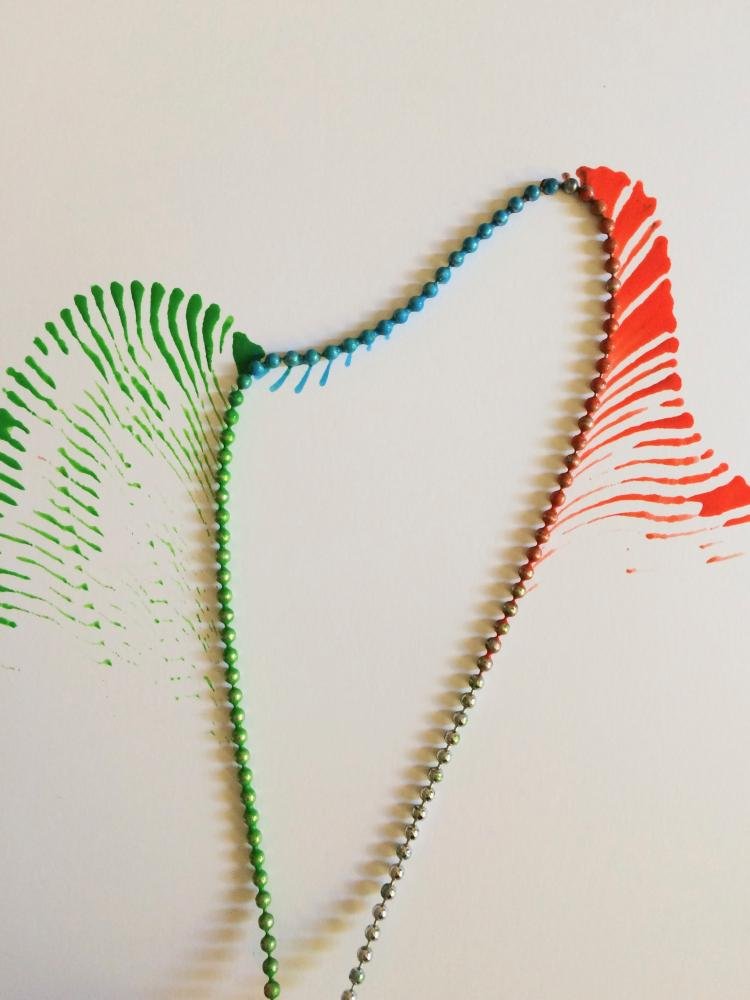
I’m going to show two ways of using a chain design: placing paint directly onto the canvas and having the chain drag through it OR painting the chain in advance and dragging it across the canvas.
Paint directly onto the canvas method:
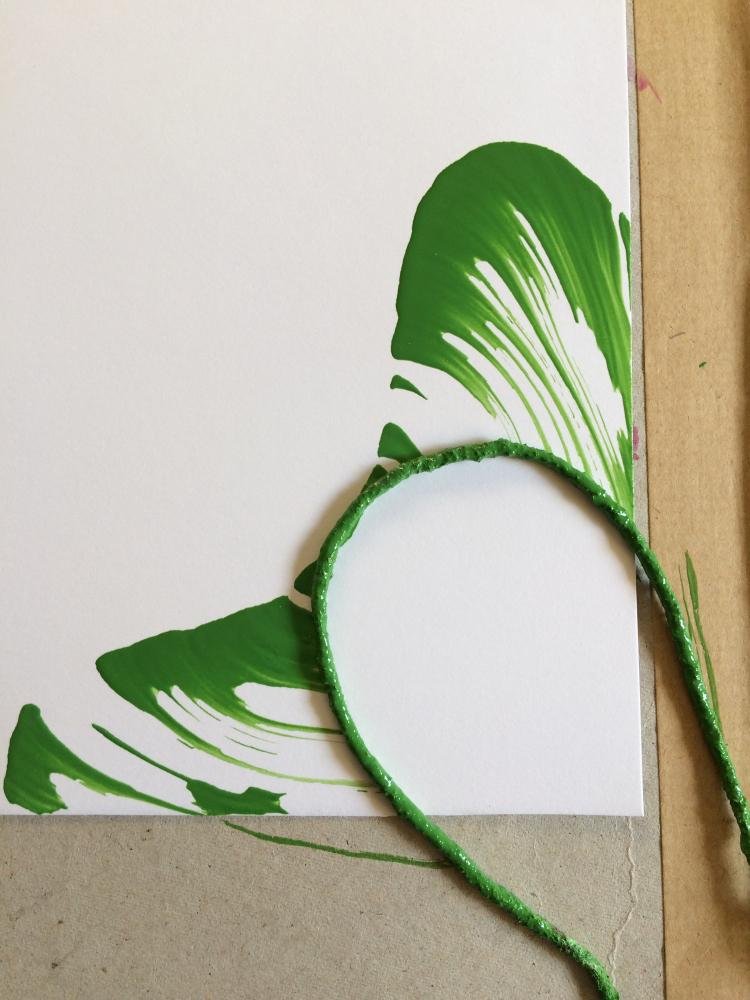
- Water down the acrylic paint till it’s like runny honey. Place several droplets on the canvas to form the shape or design you to wish to create e.g. a circle.
- Place the chain around the paint. Then pulls the two ends of the chain together, and, keeping in the same direction drag the chain off the canvas.
- Repeat however many times you wish, but clean the chain in between.


Paint onto the chain first method:
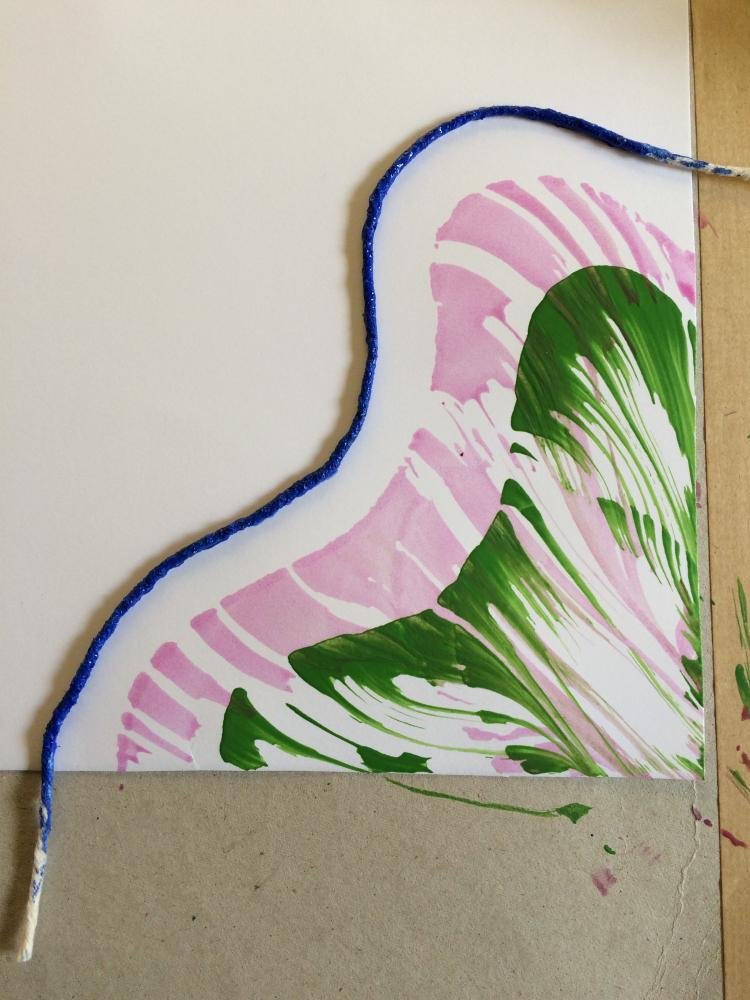
- Using a paint brush cover the chain in a range of acrylic paints. I recommend just a few, as the lines are more striking then.
- Place the chain in a pattern across the canvas – I suggest a wave. Then pull the two ends of the chain together and in the same direction pull off the canvas.
OPTIONAL:
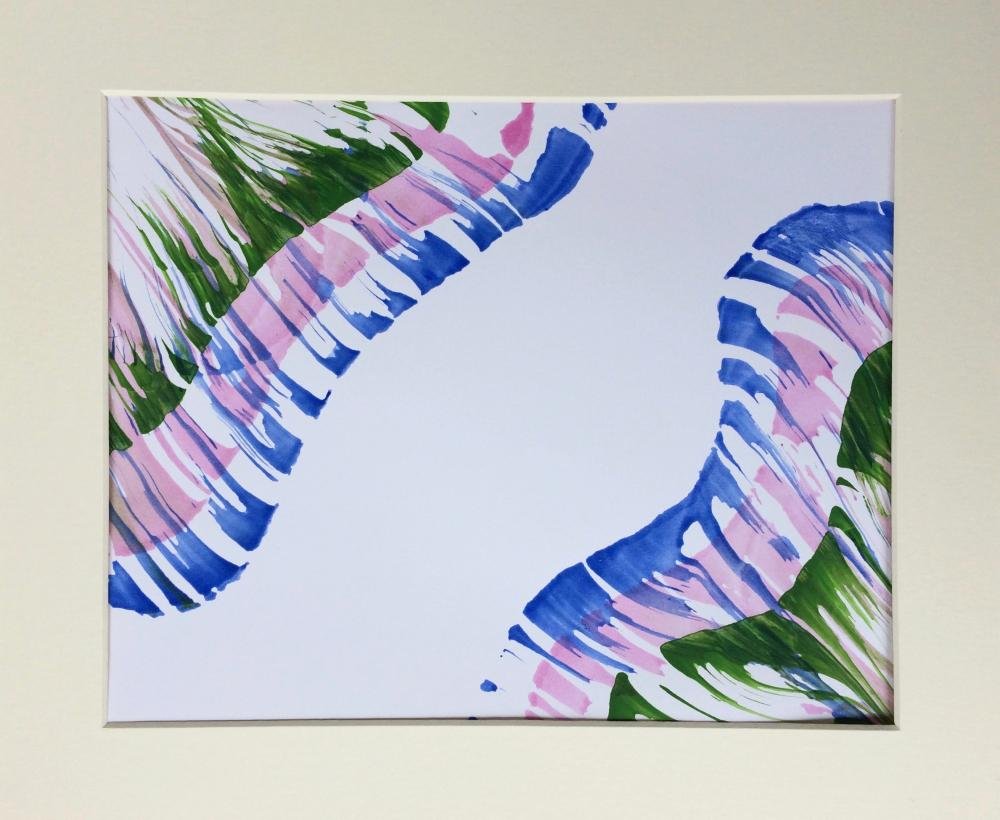
- If you line up the next chain to start just above where the earlier one began, you can create a ripple-pond effect.




COMB
You’ll need:
- Comb
- Acrylic paint
- Water
- Ruler/cling film
- Canvas/card/paper
Method:
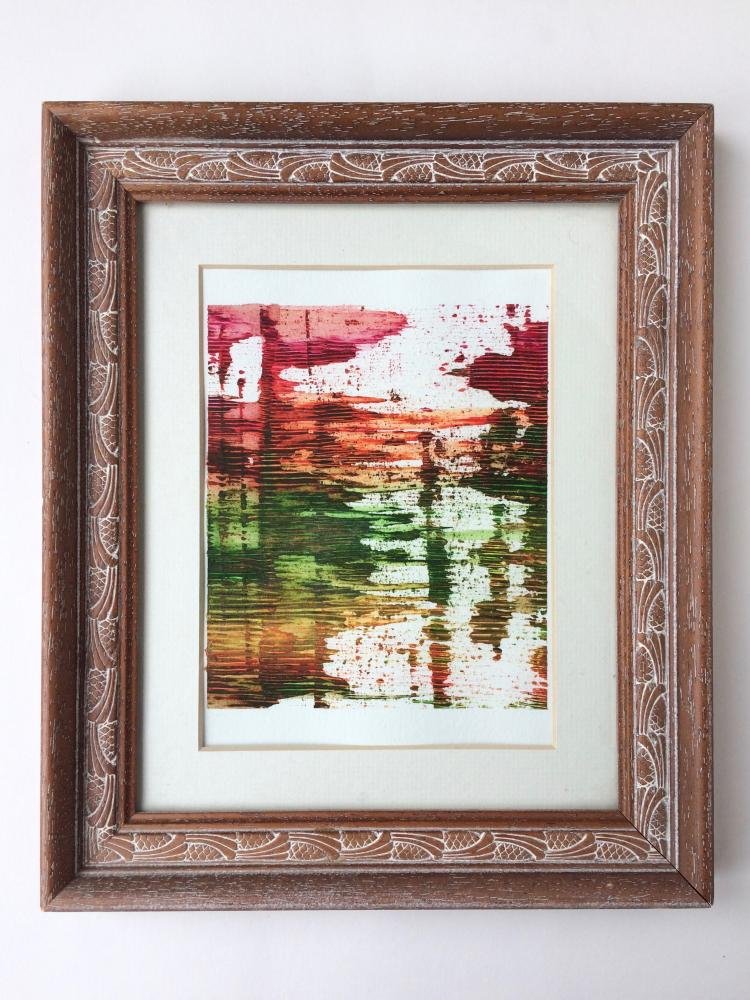
- Place multiple acrylic paints in a line along a plastic surface e.g. ruler, cling film etc. You want the paint reasonably deep.
- Then smooth the edges of each colour to join into the next – a scraper works best for this (or a credit card).
- Next, dip a comb in water and while it’s still wet place it lengthways into the paint, with its teeth facing down.
- Placing the comb in line with the canvas, scrape its teeth across the surface. The lines of paint will drag along with it, before fading out.
- Repeat steps 3-4, but this time start a bit further into the canvas.
- Repeat as desired. In the end you’ll have various paint lines of different thicknesses across the canvas.
OPTIONAL:
- If you find it easier you can apply the paint directly onto the comb, but make sure it’s wet first, otherwise the paint will stick too much.
Brush
You’ll need:
- Acrylic paint
- Water
- Toothbrush
- Canvas/card/paper
Method:
- Choose your acrylic colours, and add water till it’s slightly thicker than milk. I suggest a 1:2 ratio of paint to water.
- Dip the ends of the brush into the paint – shake or dab off any excess. You don’t want drops of paint falling onto the canvas.
- Placing the brush face-down, gently press up and down across the canvas – this will create a series of small little dots. Repeat this till you’re happy with your placement of dots.
- When the dots are dry, once again dip the brush into the paint – try different shades or colours – this time dab off only some of the excess paint. Then, keeping the brush face down, drag the bristles widthways across the canvas. Keep doing this till the canvas is covered. Done!
OPTIONAL:
- Go over some of the previously created lines to create thicker areas of paint.
- Once the paint is dry, you’re welcome to add more dots by repeating step 2 and three.


