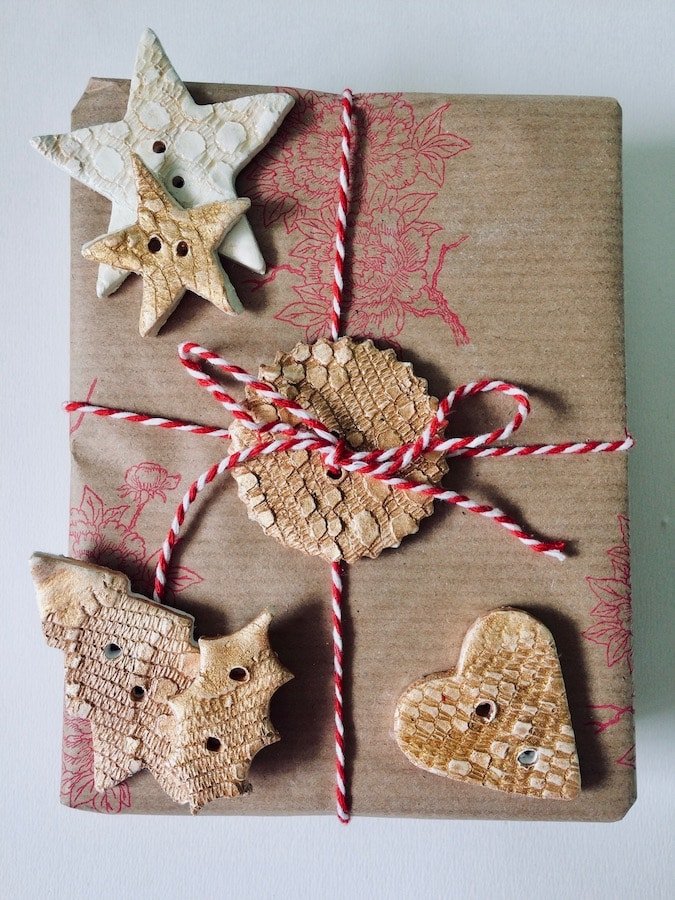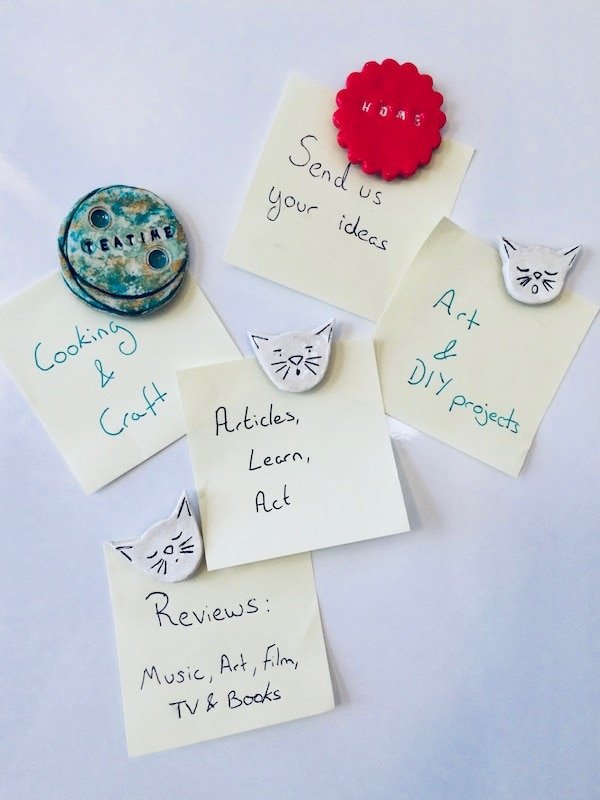
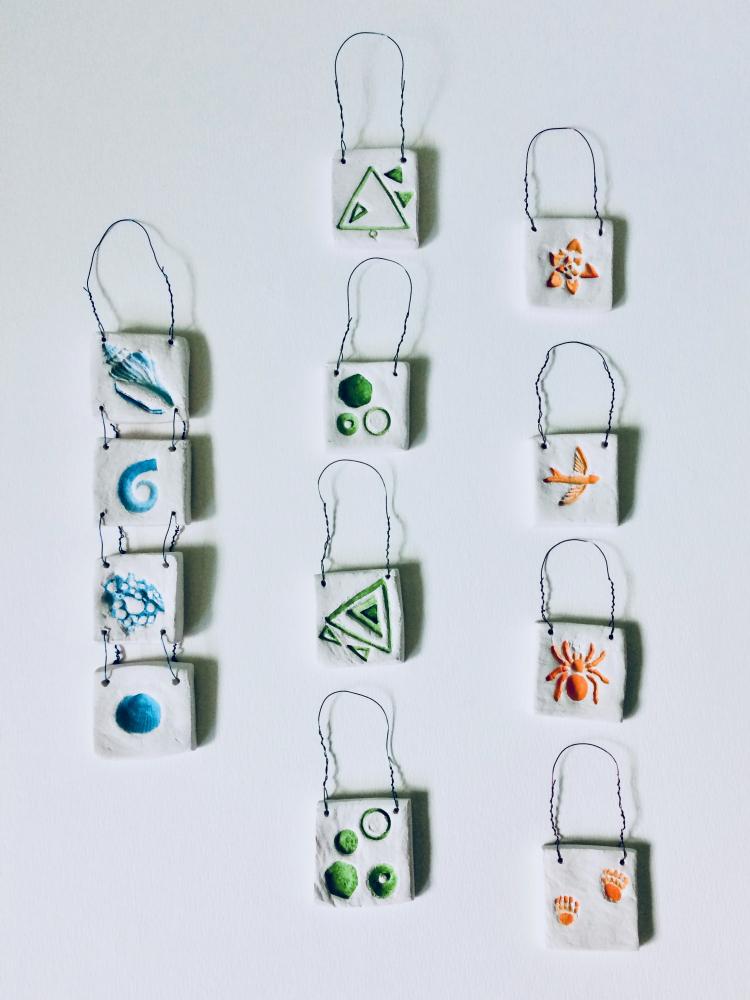
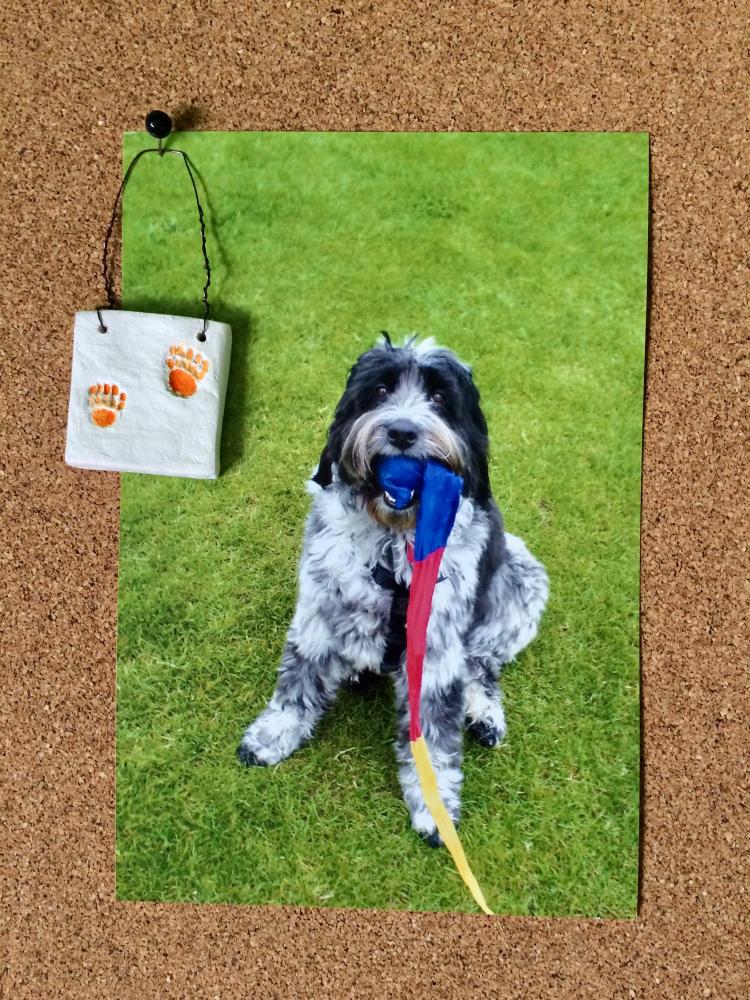
These decorative squares can be used in a variety of ways; to adorn cupboard handles, to use as wine tags, to highlight key items on an office/home board, and well to just brighten those boring items with something pretty.
Level of difficulty: Easy
Materials:
- White air-dry clay
- Acrylic paints
- Thin wire
- Water
- Items to take an impression from e.g. shells
If you don’t use white clay, you’ll need to undercoat the clay (once dry) in either white primer or acrylic.
Tools:
- Craft knife
- Rolling pin
- Pliers
- Paintbrushes
Method:
When shaping, always keep your clay moist by sprinkling on a bit of water.
- Roll out the air-dry clay to a depth of 1cm.
- Cut out small squares about 5×5 cms
- In the top corners push through a pin/needle to make a hole for the wire. Clay shrinks as it dries so make the holes slightly bigger.
OPTIONAL:
- For a really impactful decoration, you can join several of the squares together. For this you need there to be holes in all of the squares’ corners – except for the end square, which will only need two holes at the top.
- In the centre of the square push down the item you want to make an impression of;
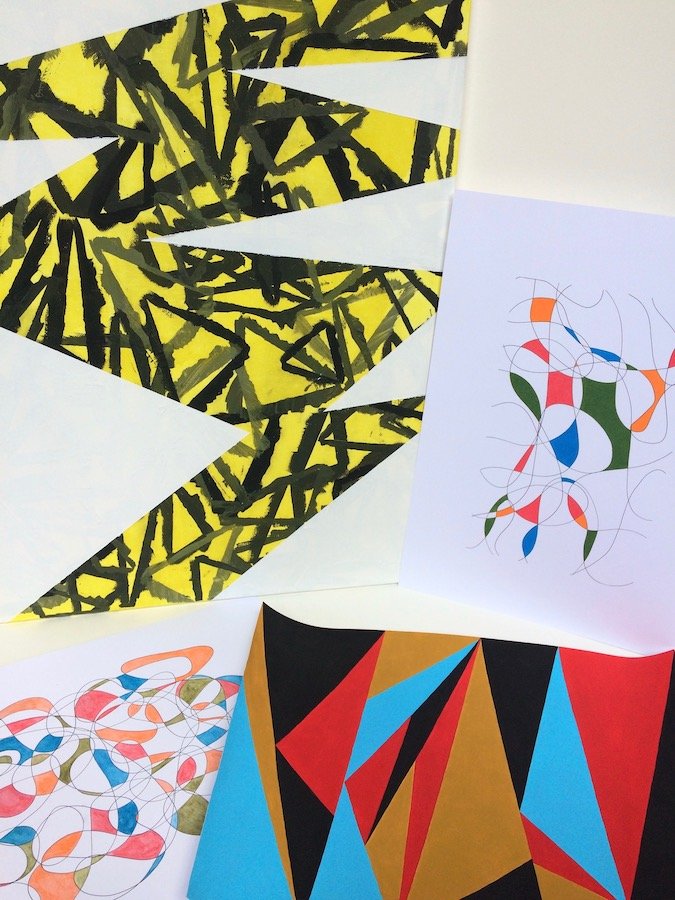
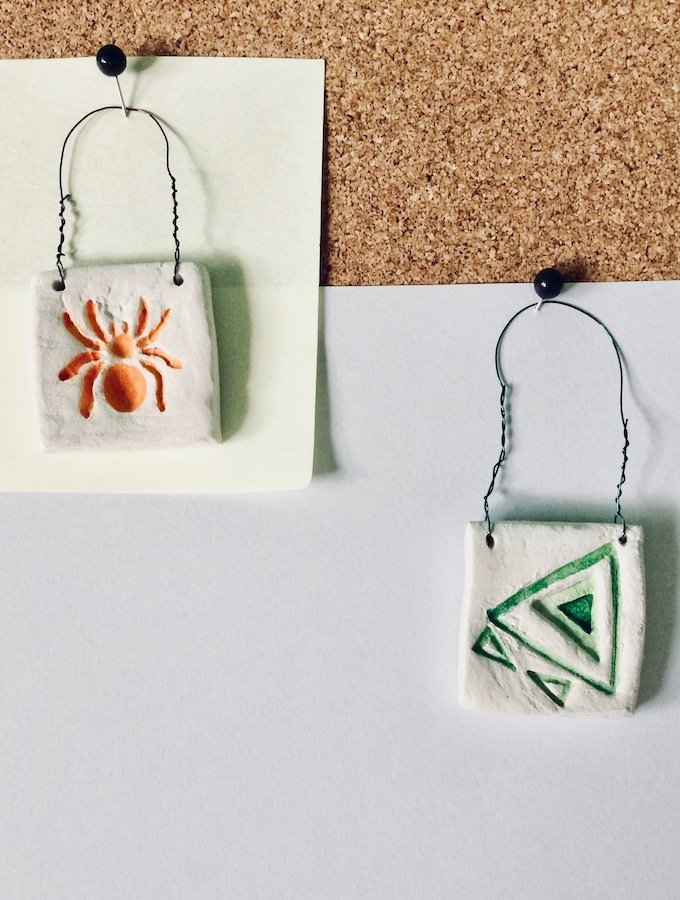
- In this example I did; geometrics, nature e.g. shells, wildlife e.g pawprints.
- Leave to dry for 2-3 days.
- Make a paint wash – the lighter the paint the more details can be seen. This is because the deeper grooves will hold more of the paint than thinner areas – thereby showing the different details of the impression. If there is a connection between the items e.g. seashells it’s nice to paint them all in one colour.
- Apply the paint wash only to the impression. Leave to dry.
- For a single square: Cut the wire to about 10-12cms in length; thread the ends through the holes and then wrap back around itself. Finally slightly bend the wire in the middle to make a loop. It’s now ready to hang.
- For a string of squares: Repeat step 8 for the top square and its top two holes, as this is where the string of squares will hang from. Next, join the bottom two holes to the top two holes of the following square, and repeat your way down. Don’t forget, the last square should only have two holes at the top for you won’t be hanging another one below.
Done!
Enjoyed making these decorative squares and have your own creative craft idea? We’d love to hear from you.
Get in touch through our submissions page.