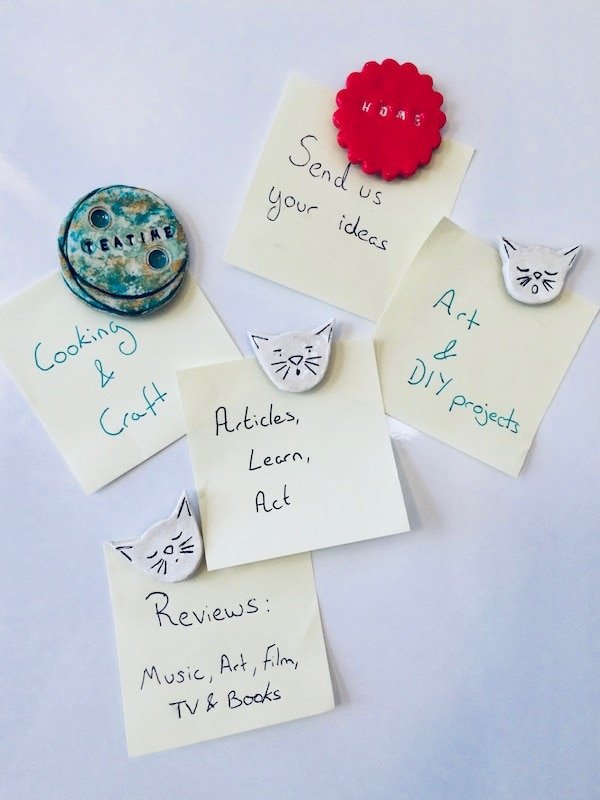
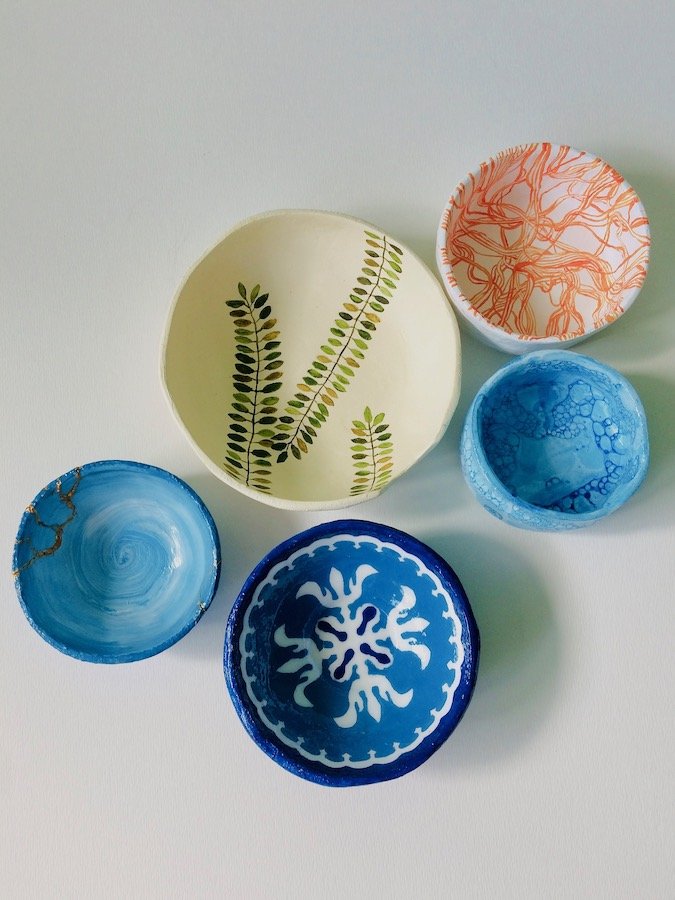
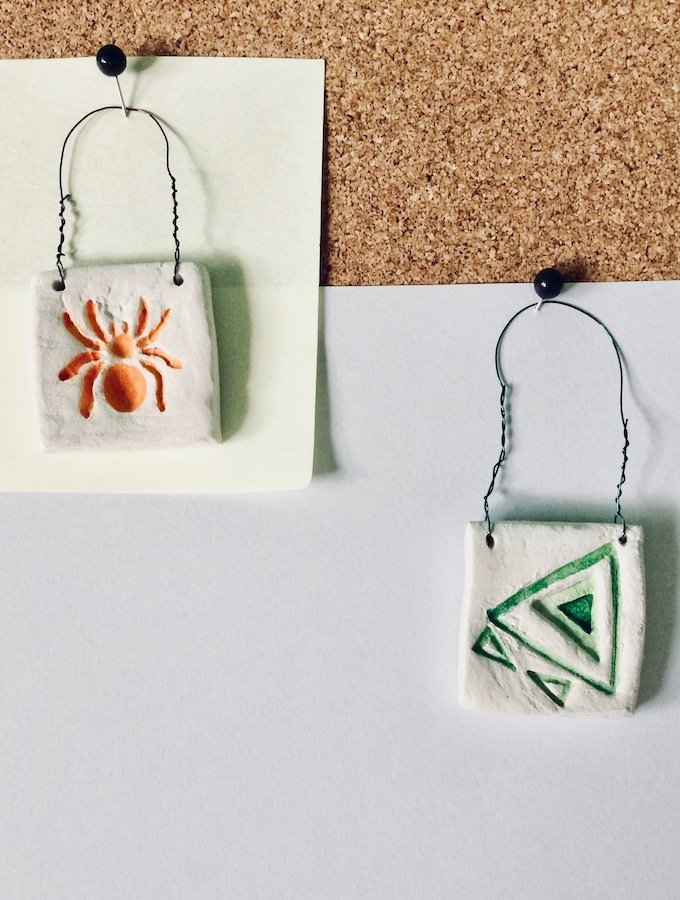
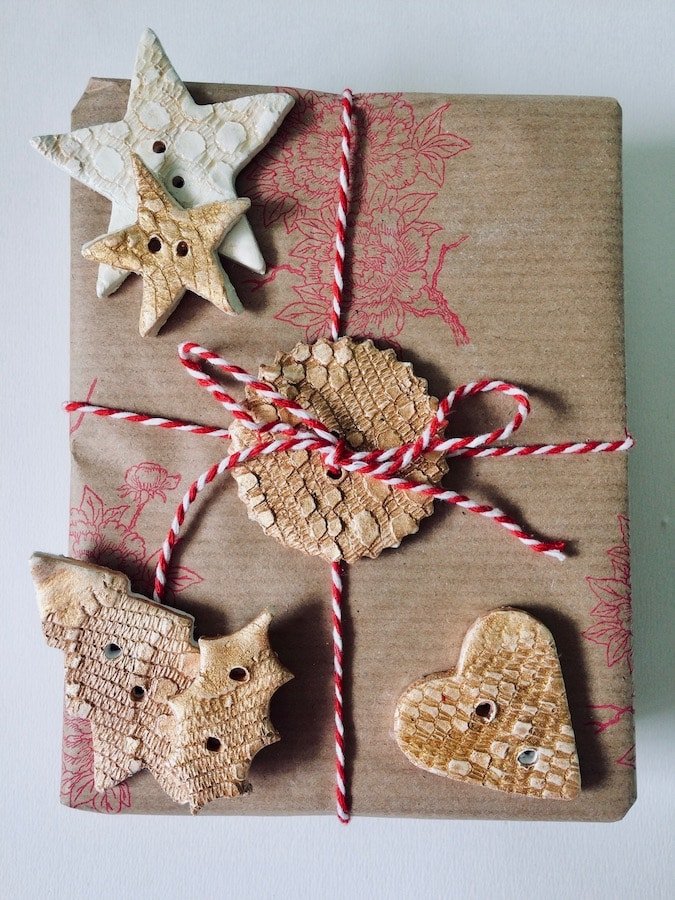
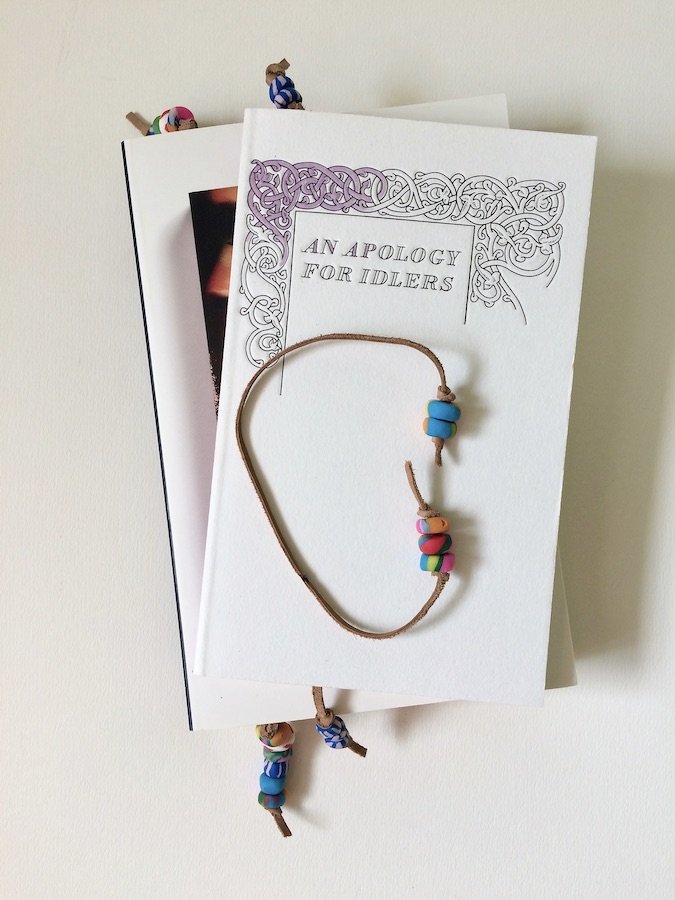
At last, you can find those little scraps of paper and loose notes, thanks to these marvellous magnets. Helping messages and photos to be easily displayed, whilst being brilliantly highlighted.
Level of difficulty: Easy
Materials:
- White air-dry clay
- Magnets
- Paper
- Water
- Acrylic paints
- Superglue
- Polyurethane gloss varnish
If you don’t use white clay, you’ll need to undercoat the clay (once dry) in either white primer or acrylic.
Tools:
- Round and scalloped cookie cutter
- Compass
- Pin
- Pen
- Craft knife
- Rolling pin
- Letter stamps
- Black permanent fine-marker
- Sandpaper
- Paintbrushes
When shaping, always keep your clay moist by sprinkling on a bit of water.
Round & Scalloped Magnets:
- Knead and roll out the clay to a depth of half a centimetre.
- Using the cutters, cut out the magnets’ shapes
- OPTIONAL:
How to create an astronomy-inspired look: Using a round cutter, cut out a circle of clay. Then slightly reposition the cutter across this circle and lightly press into its surface (don’t go all the way through). Keep repeating this to create the rings of orbiting planets.
- Next, choose what word you wish to stamp into the clay. Then, using the ruler as a guide, line-up the letters. Once happy press the letters into the clay – but again not all the way through.
- Leave to dry for two days. Then sandpaper the edges and back, to make it smooth.
- Paint directly onto the clay. The paint may go into the impressed letters, but that’s okay just slightly scrape this away by using the end of a pin. Otherwise leave to dry and use a fine-permanent marker to make the letters stand out.
- OPTIONAL:
To create an aged look to the magnets, sand down areas of paint. Wipe off any dust and apply another colour. Leave this to dry, before again sanding down patches of it. This creates a rough look to the magnets.
- Varnish matt/gloss
- Superglue the magnets onto the centre-back of the clay.
- Stick on a fridge!
Cat Magnets:
- On a piece of paper draw a round circle (about the size of a coin – this will be the cat’s face). Next, draw two triangles at the top of the circle – one on either side (this will be for the ears). You should now have your cat template.
- Next lay the template across the clay, and cut around its shape.
- For the cat’s features; draw another triangle within the ear (but miss out the base). Repeat this for the other ear. Keep the eyes simple; dots or semi-circles. And for the nose; draw an upside-down triangle with a soft curve at the top (like an ice-cream cone), and draw three lines either side for the whiskers.
- Leave to dry for two days, then sand-paper around the edges and back to make it smooth.
- Use a black permanent fine-marker to highlight the features.
- Apply 1-2 layers of gloss varnish – leave to dry in between (normally 8-12 hours)
- Attach the magnet to the centre-back using superglue.

