A rough guide on how to make a simple bookcase with the flexibility of making it the size you want.
Level of Difficulty: Medium
These instructions will provide the style and technique, while the measurements act as a rough guide which you can choose to use or not.
Materials:
- Oak or pine wood
- Thin MDF board (3-5mms)
- 20 screws (will leave spares)
- 25 nails (will leave spares)
Tools:
- Pencil
- Ruler
- Rubber
- Measuring tape
- Saw
- Drill
- Hammer
- Screwdriver
- Sandpaper
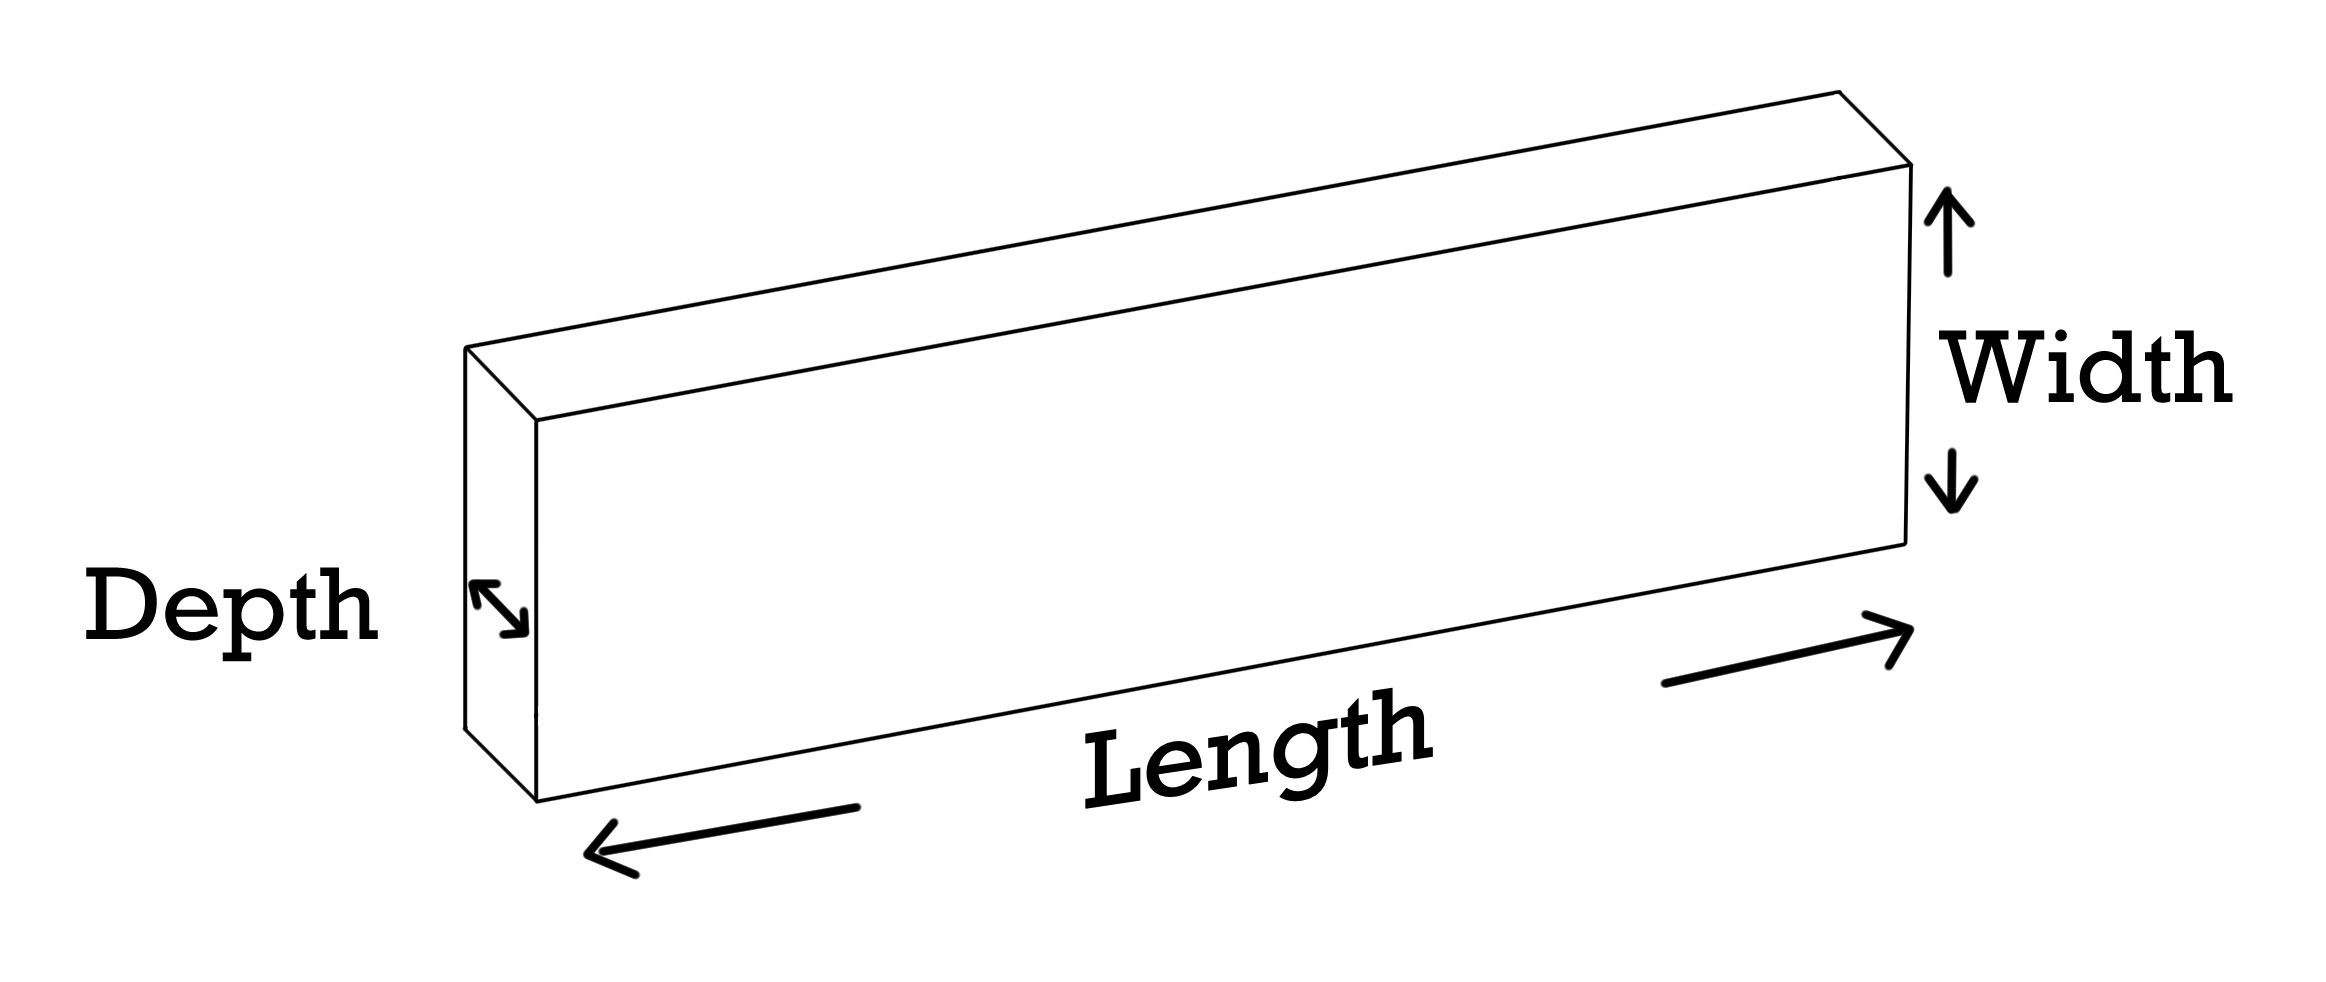
Please note depth means the thickness of the wood.
Preparing the wood
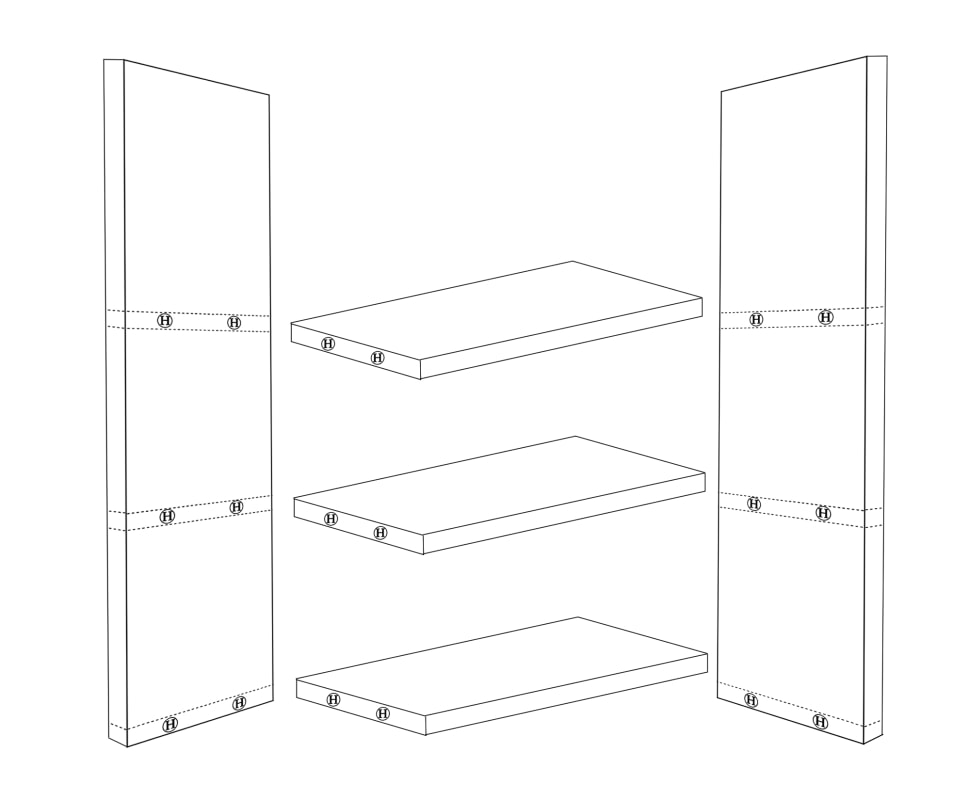
- Shelves: measure three pieces of wood to be of the same length (minimum: 50cm) and width (minimum: 12cm). Cut and sand down any edges.
- Top: first measure the length and width of the cut shelves, the top can either match the width, or go slightly bigger – as we have here – so as to have an overhang. However, the length must be no smaller than the total length of the shelves plus the depth of the two sides.
- Sides: measure two pieces of wood to be of the same length (minimum length: 80cm). The width should match the width of the shelves (minimum: 12cm).
Before starting chose a drill-bit the size of the screw (the drill-bit should be the width of the screw minus the threads). Best to test on a scrap of wood first; the screw should bite into the wood, but shouldn’t be tough to turn.
Construction:
- Measure where you want the shelves to go – think the height of the books plus a couple of cms for room – in this example I have a larger top shelf, but you might prefer the bottom shelf to be larger.
- Mark the placement of the shelves (including their depth) on the two sideboards. Make sure both boards are the same and don’t forget to mark the width of the bottom shelf.
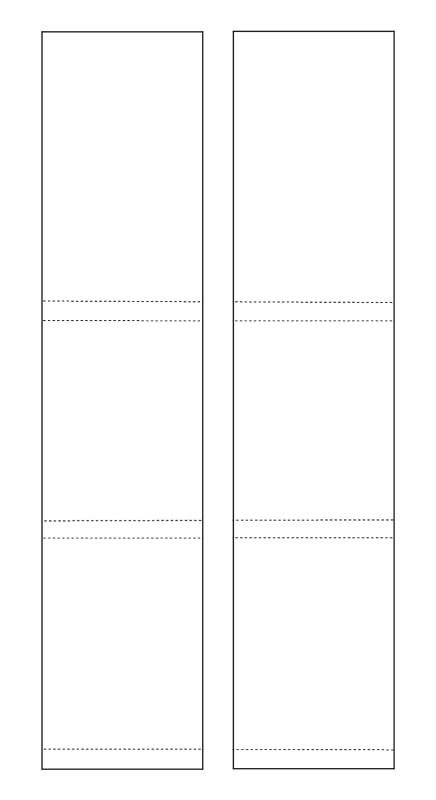
- In each of the marked widths pencil mark two holes for the screws – make sure these are at equal distance apart, and 2.5-3cms from the edge.
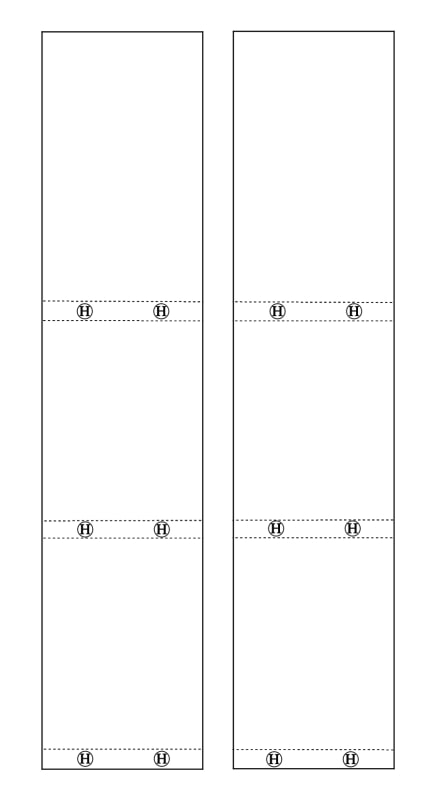
- Measure and mark the position of these holes along the width and depth of the corresponding shelf, don’t forget to include the bottom shelf. Make sure they match.
- Drill through the marked holes on the sideboards and be sure to go all the way through.
- When drilling the marked holes in the shelves, make sure to only go as deep as the exposed screw. This will be the length of the screw, minus the depth of the side-boards. Any longer and the screw will go too far in.
- Recess the holes on the sideboards – this is when the head of the screw doesn’t stick out from the wood but sits flush within it. To do this;
- Choose a drill-bit slightly bigger than the head of the screw. Then drill into the outside of the sideboards and into the already drilled holes – however, only go a couple of mms deep. Remember it’s just to sit the head of the screw within the wood.
- Rub out any exposed pencil lines on the sideboards.
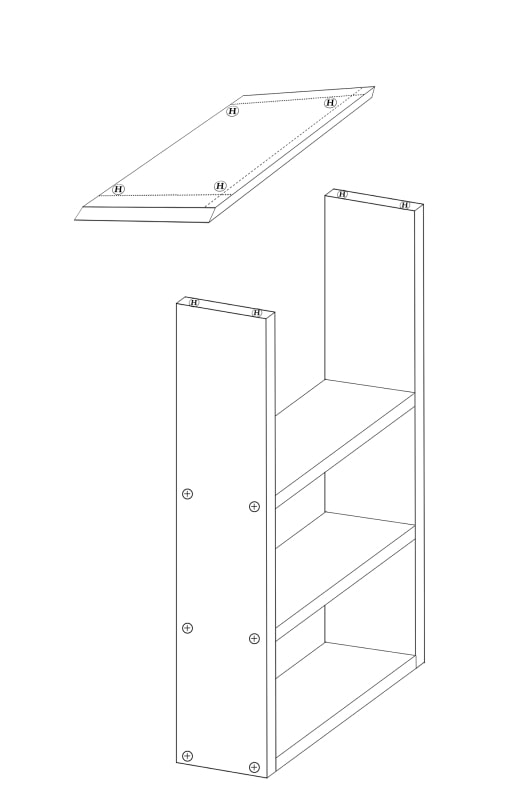
- Now, taking just one of the sideboards, start with screwing in the bottom shelf, then screw in the next shelf, and then the next one.
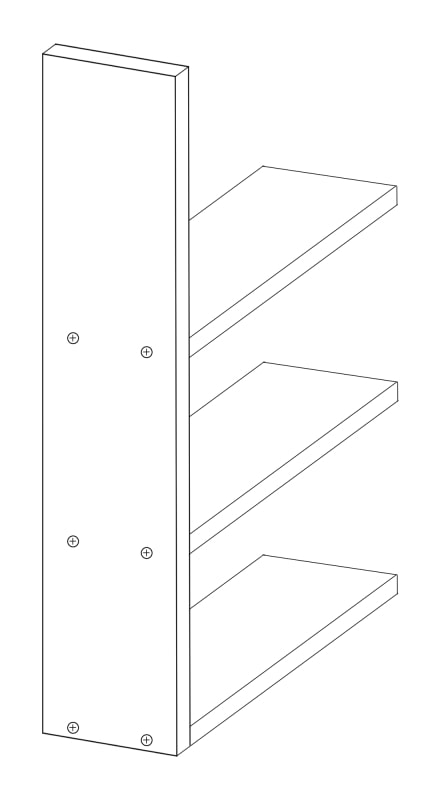
- Once done screw on the other sideboard, again starting from the bottom.
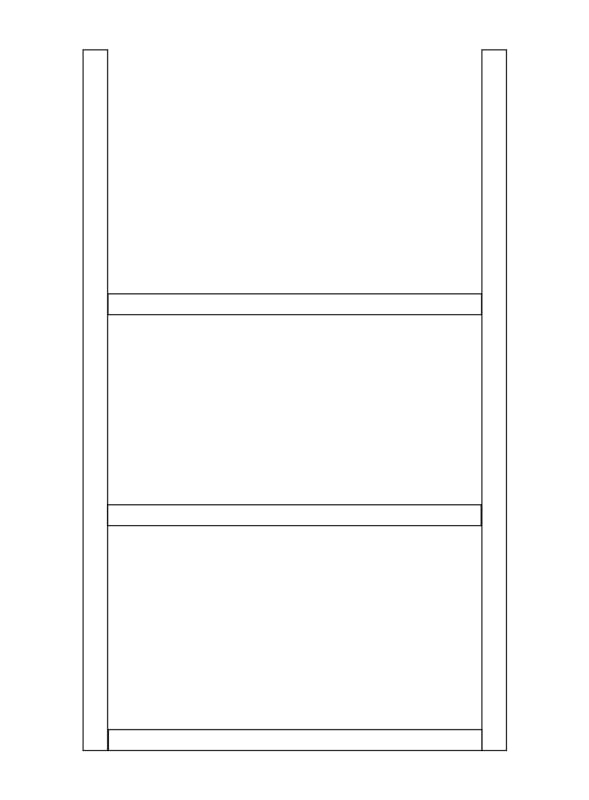
- Next, take the top shelf and if there’s any overhang mark this on the wood. There shouldn’t be any overhang on the back otherwise it would stop the bookshelf sitting flush against the wall. Having marked any overhang, within this boundary mark a hole in each corner for the screw.
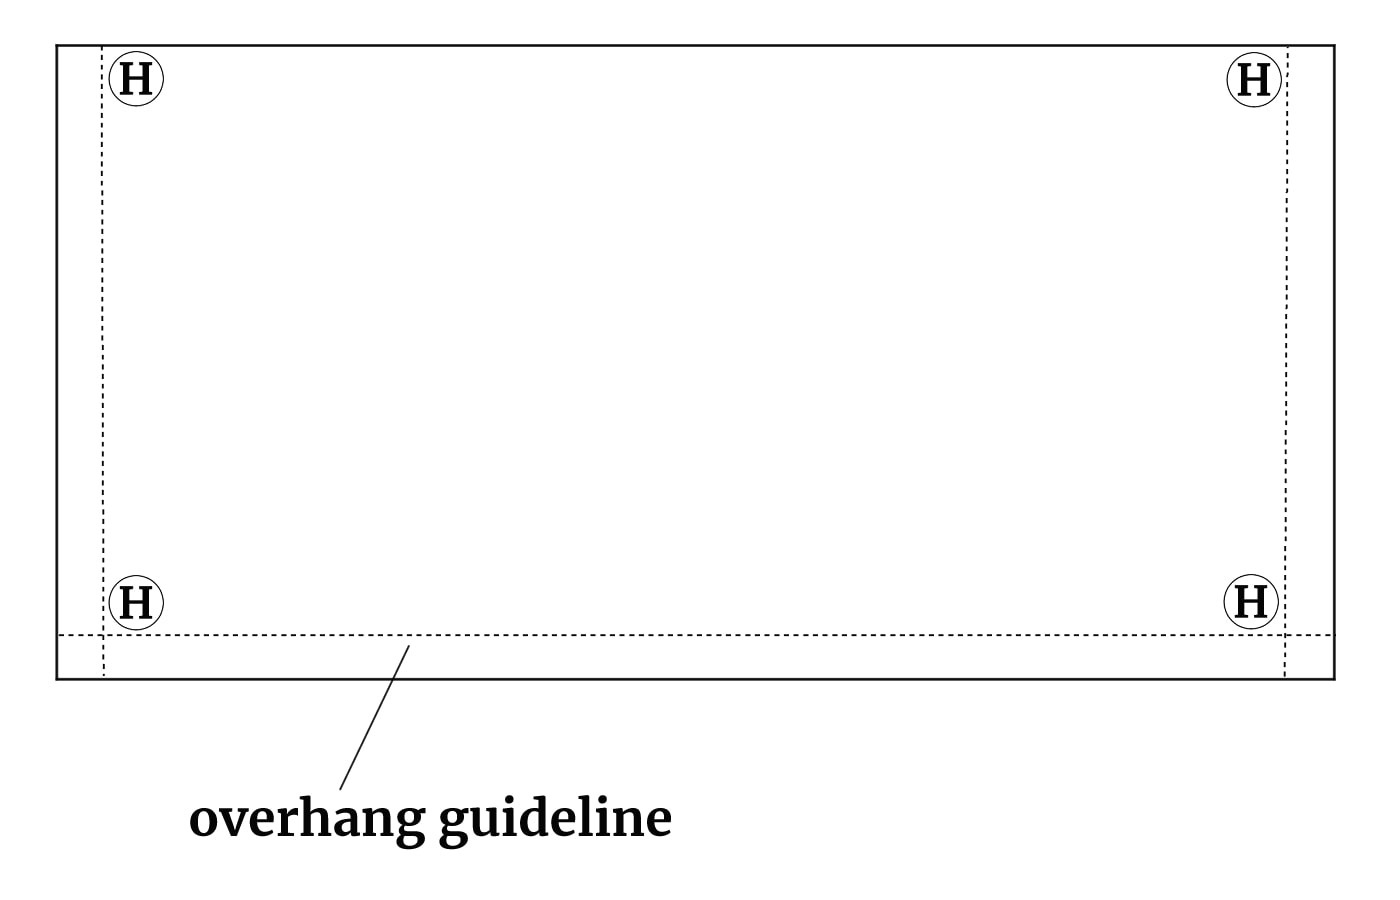
- Measuring the position of these holes, mark them on the top–depth of the sideboards:
- Drill the holes in the top shelf.
- Then drill the marked holes on the sideboards – only go as deep as the length of the screw (again minus the depth of the top shelf).
- Return to the top shelf and recess the holes for the screw-heads.
- Finally screw on the top-shelf.
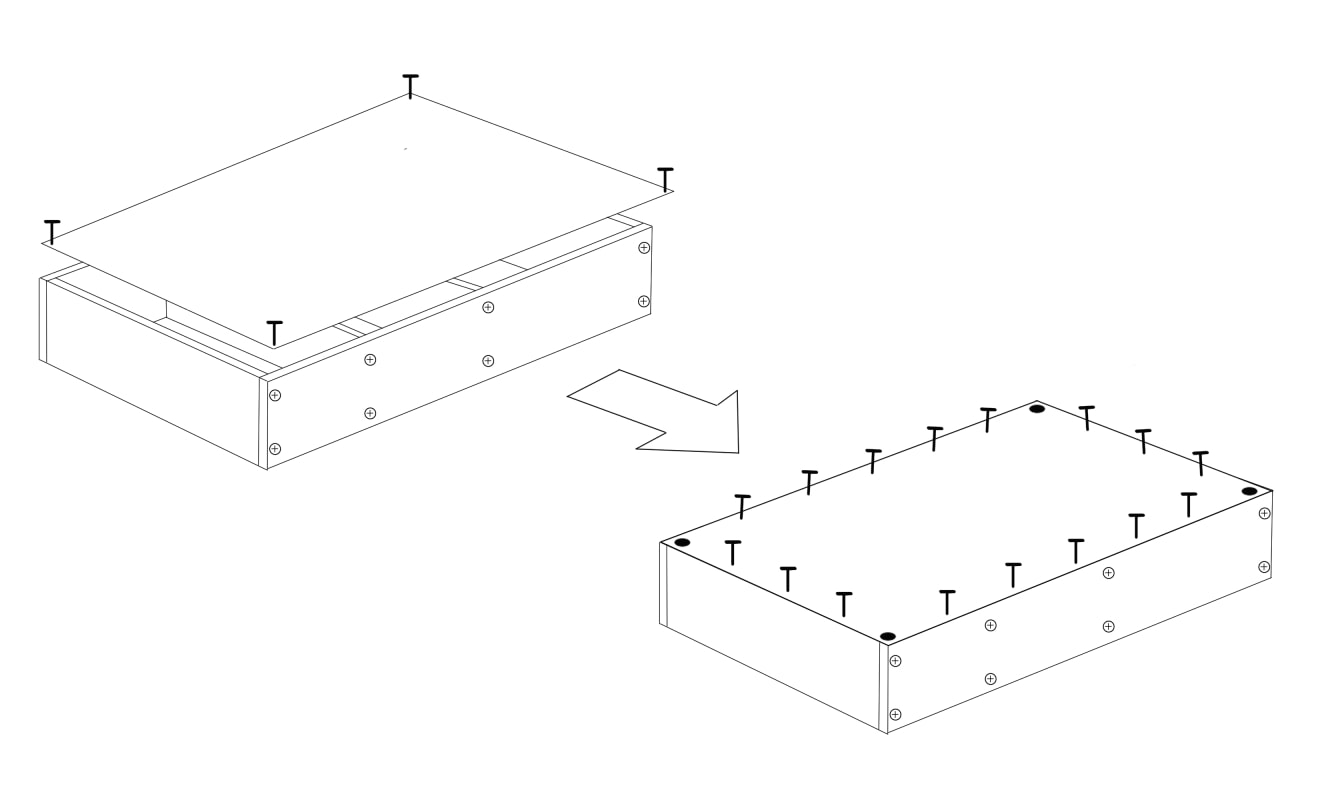
- Without a solid back-board, a bookshelf will wobble. Using MDF, with a depth no more than 3-5mm draw the outline of the bookcase onto it:
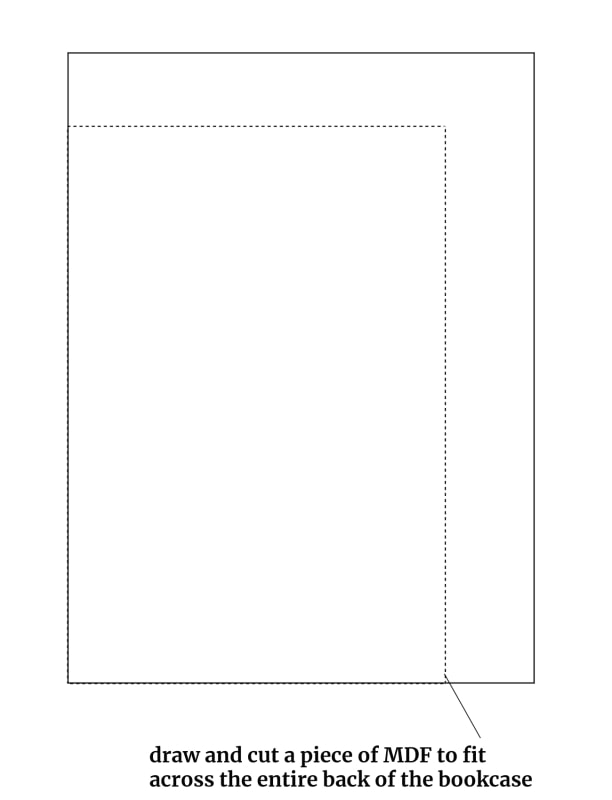
- Cut around the outline and lay the MDF across the back of the bookcase. Then taking your nails – hammer a nail into each of the corners, and into the wood below. Do the same for the side of the bookcase (4-5 nails each side) and along the top and bottom (3-4 nails each).
Enjoy your bookcase.