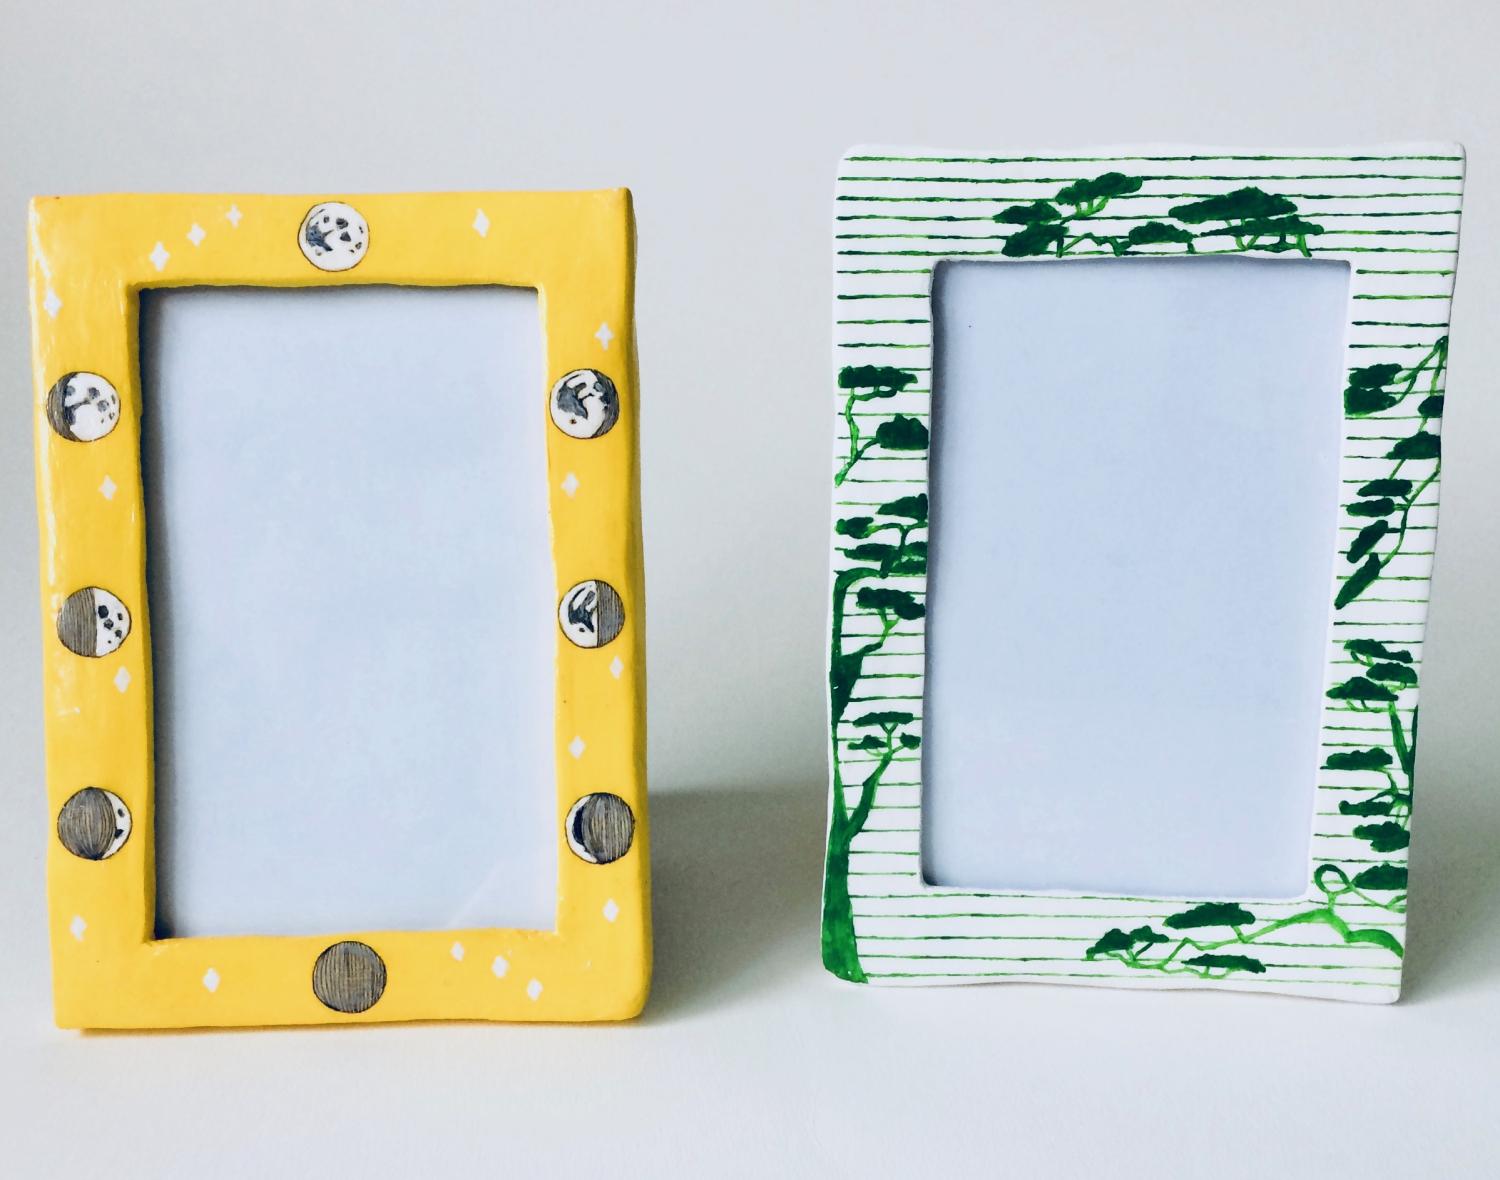
A picture can mean so many things, and bring back so many memories, why not make it that extra special by personalising it with your own picture-frame.
Level of difficulty: Medium-hard
You will need to use the glass and backing of an already existing picture-frame.
Materials:
- White air-dry clay
- Split-pin paper fasteners
- Old picture frame
- Acrylic paints
- Extra-strong glue
- Polyurethane gloss varnish
If you don’t use white clay, you’ll need to undercoat the clay (once dry) in either white primer or acrylic.
Tools:
- Pliers
- Rolling pin
- Craft knife
- Sandpaper
- Paintbrushes
When shaping, always keep your clay moist by sprinkling on a bit of water.
Method:
- Roll out the air-dry clay to a width and length greater than the old picture frame you’re replacing. The depth should be no less than 1.5cm, if however, the picture frame you’re using has a greater depth, then match this plus a little extra.
- Take the glass from the picture frame and centre it in the middle of the rolled-out clay, then using it as a guide, mark a thin line a few millimetres wider around it (don’t mark deeply). This is because the clay will shrink when drying.

- Having marked the position of your glass, you now need to work out the size of your frame around it, you can either match the exact dimensions of your old frame or go slightly bigger or smaller.
- Having decided the dimensions of your outside frame, mark it lightly in the clay.
- Then using a crafting knife (a normal knife can work as well) cut the outside of your frame from the rolled-out clay.
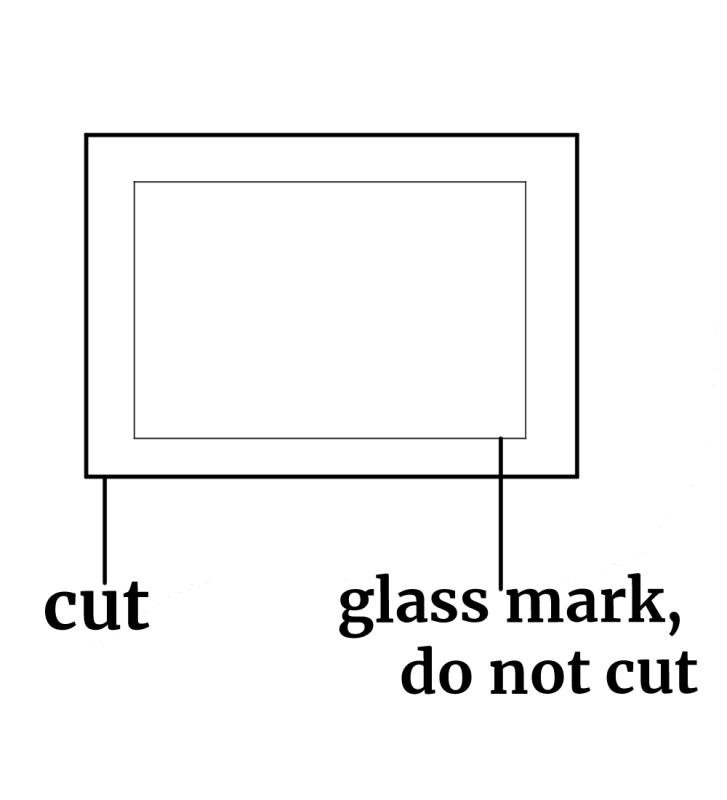
- Now, going back to the rectangle you made with the glass, draw a smaller rectangle inside. It should be at least 1cm away from the glass sides. Next, cut out this smaller rectangle.
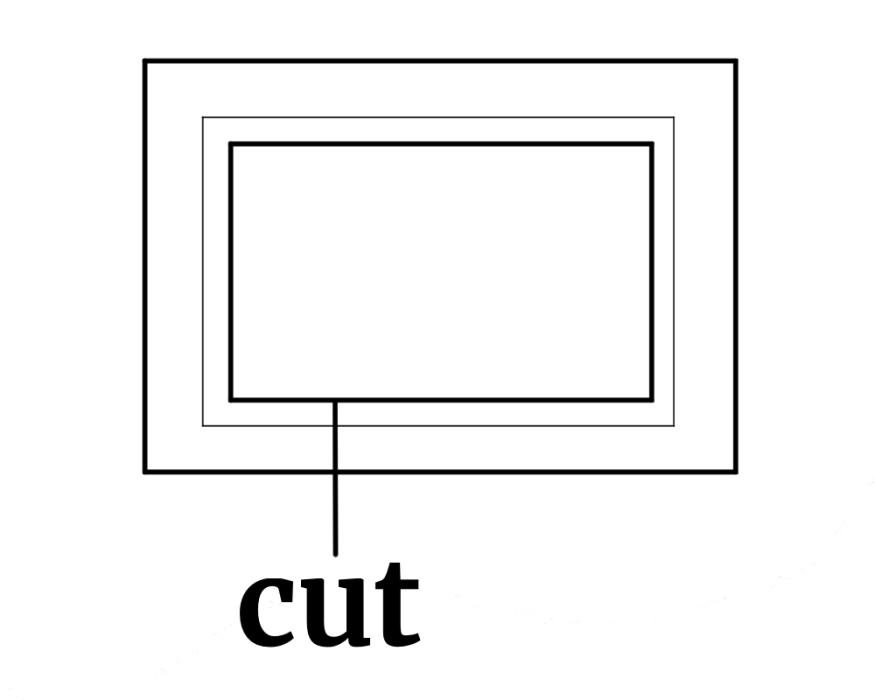
- The depth between the glass rectangle and this smaller rectangle must now be reduced, this is in order for the glass and picture frame’s backing to sit comfortably inside the frame.
- To do this you’ll need to start scraping down the clay between the glass and the smaller rectangle – till there’s a depth of 5mm.

- Next, check the glass and the picture frame’s backing sit comfortably inside, and that the picture frame’s depth is higher than these.
- Keeping the glass and backing in situ, we now need to work out where to put the pins, in order to keep these in place.
- First, the pins are taken from split-pins; cut off the head, and trim down the length to about 8mms.

- Taking these reduced pins, push two (equally distanced apart) along both the width and depth of the glass rectangle, and three (equally distanced apart) along the length and depth.

- The pins should be just about level with the picture frame’s backing, this is to help hold them in place.
- Having created little holes from pushing these pins in, give them a little wiggle – for remember the clay will shrink, and we want these holes to big enough for the pins. Having done this, you can now pull the pins out. You’ll be gluing them back in place once the clay has dried.
- Leave the frame to dry (it will take a couple of days). In between this, keep checking the glass and picture frame’s backing are still fitting nicely within the frame – as the clay will shrink – do the same for the pins.
- Once dry, put dabs of extra-strong glue on the ends of the pins and push them into the holes you’ve created. Leave the glue to dry.
Decorating:
- Once the clay is dry, use fine sand-paper to smooth down any rough bumps on the clay.
- Brush off any clay dust
- Use acrylic paints to decorate. Leave to dry for a few days.
- Gloss varnish.
Your picture frame is now complete

