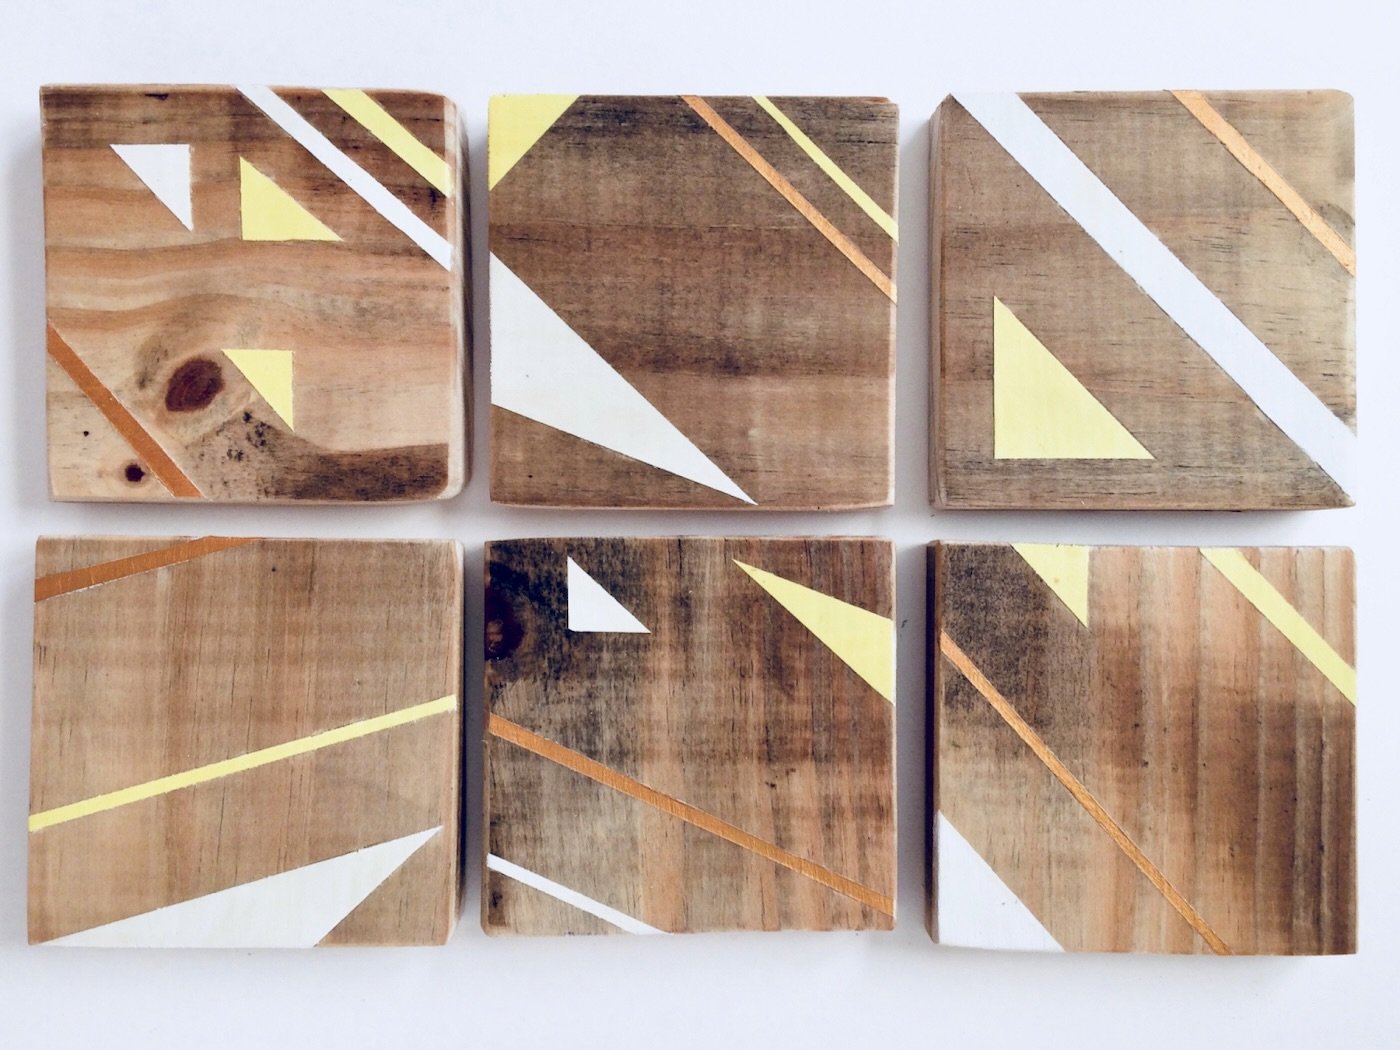
This simple guide on how to make your own coasters is easy to follow, unique to your own design and will look stylish anywhere. Follow along to create six geometric-patterned coasters.
Level of Difficulty: Easy
Materials:
- Oak or pine wood minimum width: 9cm, minimum length: 60cm (always have the length slightly longer to allow room for any errors.)
- Clear polyurethane varnish (gloss or matt depending on preference).
- Acrylic paints
Tools:
- Pencil
- Ruler
- Measuring tape
- Saw
- Sandpaper or belt sander
- Paintbrush
- Masking tape
Construction
- Coasters are square so the width and length are the same. Taking the width of the wood use this to measure the size of each coaster, mark these in pencil. As you ideally want 4-6 coasters or more, make sure the length of the wood is 4-6 times the width.

- Cut along the pencil lines to form square coasters.
- Sand down the edges and surfaces of the wood. Also round the corners slightly in order to remove any sharp edges.
- If you want to do a similar pattern as seen here, use masking tape to create different diagonal widths, positions and types of triangle. Apply 2-3 layers of paint and try to use 2-3 different colours.
- Once the paint is dry, brush on two layers of polyurethane varnish (this varnish is waterproof and heatproof), allow the varnish to dry between application.
- Please note that the varnish can sometimes make white paint have a slightly yellow/cream tinge.
You should now have a complete set of six coasters!

